Begin Your Roofing Project: How to Lay Shingles Like a Pro
Transforming the look and functionality of your home with a new roof can be both thrilling and daunting. Starting shingles on your roof is not just about enhancing curb appeal; it’s about ensuring protection against the elements for years to come. If you're considering taking on this project, here's a straightforward guide to get you started on shingles installation, plus insights into financial aids that might support your renovation efforts.
Understanding the Basics
Taking on a roofing project without fundamental knowledge can lead to costly mistakes. Before you grab the toolkit, familiarize yourself with the key components:
- Underlayment: Acts as a protective layer beneath the shingles to ward off moisture.
- Starter Strip Shingles: The foundation that prevents water infiltration.
- Roof Flashing: Used around chimneys and vents to direct water away.
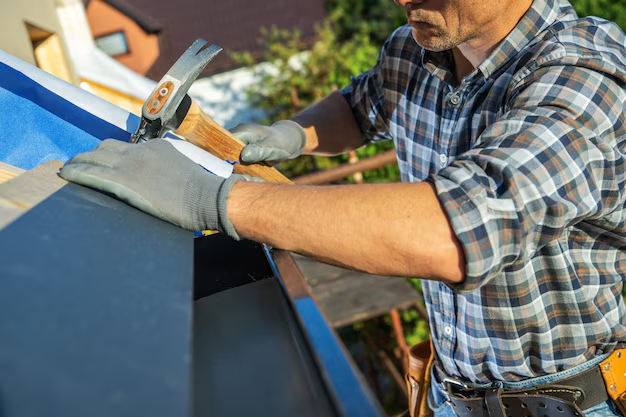
Begin by ensuring you have all necessary materials and tools at hand, including nails, a ladder, roofing felt, and a reliable hammer. Safety is paramount; always secure yourself with the appropriate safety harness.
Step-by-Step Guide to Installing Shingles
Prepare the Roof Deck: Clear debris and ensure the surface is dry and damage-free.
Install the Underlayment: Lay the underlayment across the entire roof. Start at the bottom and work your way up, overlapping each row by a few inches.
Lay the Starter Strip Shingles: Position them along the eaves, ensuring they hang slightly over the edges to assist in water runoff.
Nail Down the Shingles: Begin with the first row along the starter strip. Align each shingle carefully, overlapping the one below it by half. Use roofing nails to secure them, placing nails at each corner.
Proper Overlapping: Continue laying shingles, ensuring each consecutive row overlaps the one beneath it to prevent leaks.
Some homeowners might find this guide handy, but others could encounter hurdles along the way. For complex roofs or uncertain DIY skills, consulting a professional could save time and money in the long run.
Benefits of Professional Installation
- Experience and Precision: Hiring a professional ensures the job is done correctly, avoiding potential mishaps that can emerge from inexperience.
- Time Efficiency: Professionals are adept at maneuvering through projects swiftly without compromising quality.
Financial Aids and Supports For Your Roofing Project
As you contemplate undertaking a roof installation, financial considerations play a significant role. Many may not be aware of the available resources to alleviate costs:
- Government Aid Programs: Initiatives like the Weatherization Assistance Program can reduce energy costs by improving home efficiency, which may cover part of your roofing expenses.
- Home Improvement Loans: Low-interest loans specifically for renovation can ease immediate financial pressure.
- Tax Credits: Some energy-efficient roofing materials may qualify for tax rebates or credits, reducing your project’s overall cost.
🔧 Summary of Financial Resources:
- 🏠 Weatherization Assistance Program: Federal aid to improve energy efficiency.
- 💸 Home Improvement Loans: Offered by banks and credit unions, tailored for renovations.
- 📈 Energy Efficiency Tax Credits: Reductions in taxes for using approved materials or systems.
Starting a roofing project is a journey—a combination of craftsmanship and financial planning. Equipped with the right tools and knowledge, embarking on this endeavor can be both rewarding and economical. Explore financial options and consult with experts when in doubt, ensuring your new roof is both a functional upgrade and a savvy investment.