Mastering the Art of Shingling a Hip Roof with Dormers: A Step-by-Step Guide
Tackling the task of shingling a hip roof with four dormers can be a daunting project, but with a bit of guidance and patience, you can transform this complex endeavor into a manageable task. The key lies in understanding the distinct elements of your roof's architecture and ensuring a solid plan is in place. Let’s walk through the process together, ensuring each shingle is perfectly placed on this architecturally intriguing style.
Understanding Your Roof's Anatomy
The first step is to familiarize yourself with the anatomy of a hip roof with dormers. A hip roof features slopes on all four sides and has no vertical end walls, while dormers—often installed to increase usable space and add aesthetic interest—protrude from the main roof. The intricate intersections where the planes meet are the main challenge but also the point of style when shingled correctly.
Essential Steps for Shingling
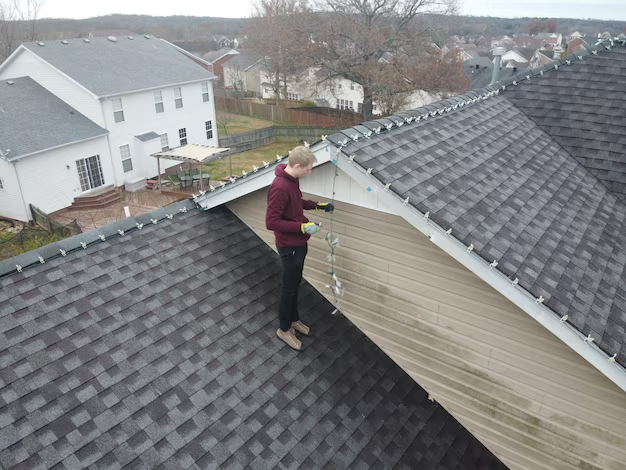
1. Preparation and Safety First
Before starting, gather all necessary materials and tools. You'll need shingles, roofing nails, a hammer, a utility knife, a chalk line, safety gear, and a reliable ladder. Ensuring safety measures such as harnesses and stabilizers is crucial, given the roof's complexity and the presence of dormers.
2. Start with the Underlayment
After ensuring the decking is free of debris and damage, begin by laying a water-and-ice barrier at the edges and around the dormers. Follow this with a roofing felt underlayment across the entire roof surface, providing an extra layer of protection against moisture.
3. Aligning and Laying Shingles
Begin at the eaves, using a chalk line to ensure straight rows, and work your way up. Apply a starter strip of shingles along the edge for adhesion and alignment, then proceed with the first row of shingles. Ensure the bottom edge of the shingles hangs slightly over the eaves for optimal water runoff.
4. Shingling the Dormers
Carefully fit the shingles around each dormer. This involves cutting shingles to fit tightly against the dormer walls and using flashing to ensure watertight seals where the dormer roof meets the main roof. This step is crucial for preventing leaks.
5. Finishing the Hip and Ridge Lines
The hip and ridge lines are where your shingling expertise shines. For the hips, start at the bottom and work upwards, overlapping each shingle. When reaching the ridge, use ridge cap shingles to cover joints, ensuring water doesn't seep into the roof structure.
6. Final Checks and Maintenance
Finally, ensure all shingles and flashings are securely fastened, and conduct a meticulous inspection for any gaps or misalignments. Regular maintenance checks post-installation will prolong your roof’s lifespan.
Bridging Roofing Needs to Financial Solutions
Investing in a roofing project, especially intricate ones like hips with dormers, involves considerable expenses. If you're concerned about the costs of a new roof, there are various financial aids and programs you might explore:
- Government Grants: Some local governments offer renovation grants or loans for homeowners improving energy efficiency or roofing.
- Home Equity Lines of Credit (HELOCs): Utilize your home’s equity to gain access to funding for major projects.
- Builder Financing: Check if your contractor offers financing options or can recommend reputable financial solutions.
In roofing as in financial planning, a solid foundation and an understanding of structure breed success. By combining expertise in both realms, your hip roof with dormers will not only stand as a testament to architectural beauty but also financial wisdom.
Here are some resources that could make your roofing journey easier:
- 🏡 Federal Weatherization Assistance Program: Assists low-income families in making home energy efficiency improvements.
- 💳 Low-Interest Credit Cards: Look for cards with an introductory 0% APR for large purchases like a roof.
- 📚 Renovation Grants and Scholarships: Some nonprofit organizations offer support for necessary home repairs.
- 👷 Habitat for Humanity Home Repair: Provides resources and sometimes hands-on help for affordable renovations.
These options can ease the financial burden and make your home improvement dreams a reality.