Mastering the Art of Sealing Your RV Roof
Owning an RV is about embracing the freedom of the open road and savoring the serenity of remote landscapes. However, few things are more disruptive to a peaceful getaway than discovering a leak in your RV roof. Properly sealing your RV roof is essential to prevent water damage, which can lead to mold growth and costly repairs. Here’s a step-by-step guide to ensure your RV remains a dry haven.
Essential Materials for the Job
Before you start, gather these must-have materials:
- RV roof sealant (ensure it's compatible with your roof type)
- Putty knife
- Ladder
- Soft brush or broom
- Cleaning solution (non-abrasive)
- Caulking gun
- Safety gloves
Step-by-Step Sealing Process
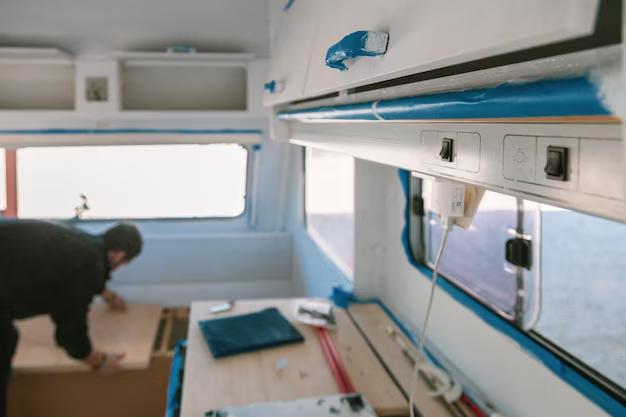
1. Clean the Roof Thoroughly
Begin by ensuring that your RV roof is spotless. Use a soft brush or a broom to remove loose debris such as leaves or branches. Follow up with a non-abrasive cleaning solution and a damp cloth to scrub the roof gently. This prepares a smooth, contaminant-free surface for the sealant.
2. Inspect for Damage
Inspect every inch of your roof for potential damage. Look for cracks, tears, or old, deteriorated sealant. Mark these areas for attention. Don’t forget to examine roof fixtures like vents and skylights, as these are common leakage points.
3. Apply the Sealant
Once the roof is clean and dry, it’s time to apply the sealant. Make sure to choose a sealant specifically designed for RVs, as different roof types (rubber, fiberglass, aluminum) require specific products. Using a caulking gun, apply a generous but even bead of sealant over seams, cracks, and around roof fixtures.
4. Smooth and Set the Sealant
Use a putty knife to gently smooth out the sealant, creating a uniform layer over the applied areas. Ensuring even application helps in sealing effectively and prevents pooling water, which can lead to new leaks.
5. Allow Adequate Drying Time
Allow the sealant to cure fully, which may take anywhere from 24 to 48 hours depending on the product specifications. Make sure the RV is parked in a dry, clean area during this time to maximize the sealant’s effectiveness.
6. Regular Inspections
Commit to regular inspections of your RV roof, ideally before and after long trips or seasonal changes. Consistent maintenance will help catch potential issues early, saving on extensive repairs down the road.
Considering Financial Assistance for RV Essentials?
The cost of maintaining an RV can add up, especially when repairs and replacements are necessary. If you're finding the expenses daunting, there are various financial and educational resources to explore for help:
- Government Aid Programs: Check for government grants or subsidies aimed at promoting travel and outdoor living.
- Debt Relief Options: If you're carrying heavy debt, consider community debt relief programs to ease the financial burden.
- Credit Card Solutions: Many credit cards offer rewards and cash back on home improvement purchases; using these strategically on your RV maintenance can yield savings.
- Educational Grants: Sometimes local community programs offer workshops or seminars on practical skills like RV maintenance—these can save you on labor costs.
Explore These Financial Assistance Options:
- 🏠 Home Repair Grants: Often available through local government assistance programs.
- 💡 Credit Card Rewards: Use points or cashback for purchases related to RV upkeep.
- 💰 Debt Consolidation Services: Reduce financial stress by simplifying your payment plans.
- 📚 Community Workshops: Free classes on RV care and repair may be offered by local community centers.
Sealing your RV roof is not just about preventing leaks; it's about preserving your home on wheels. By following these steps and considering financial options, you can maintain both the health of your RV and your financial well-being. Enjoy your adventures with peace of mind!