Best Tips for Sealing Your Camper Roof Efficiently
A camper can be your passport to freedom and adventure, offering a home on wheels wherever your heart desires. Yet, no matter how well-engineered your camper is, maintaining a secure roof is crucial to protecting it against the vagaries of weather. If you’ve noticed leaks or are simply taking preventive measures, here’s a clear guide on how to seal a camper roof effectively.
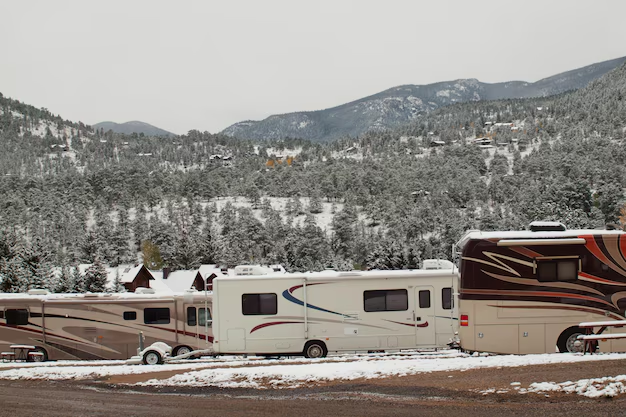
Inspecting Your Camper Roof
Before picking up sealant, it’s essential to start with a thorough inspection. Look for:
- Cracks and holes: Check for visible wear or damage.
- Existing sealant condition: Examine if the old sealant is peeling or cracking.
- Seams and joints: Pay close attention as these areas are particularly vulnerable.
Regular roof inspections can help prevent extensive repairs and enhance your camper’s longevity.
Choosing the Right Sealant
Selecting the suitable sealant is vital for a successful repair. There are several options available:
- Acrylic sealants: Durable and perfect for harsh weather.
- Silicone sealants: Offers excellent flexibility.
- Polyurethane sealing: Ideal for heavier applications and longer lasting.
Consider your camper’s roof material and your local climate to pick the best match.
Step-by-Step Sealing Process
Clean the Roof: Clear debris and wash off dirt using mild detergent and water. Allow the roof to dry thoroughly before proceeding.
Remove Old Sealant: Scrape off deteriorated sections with a plastic scraper taking care not to damage the roof surface.
Apply New Sealant: Use a specialized caulking gun for precision. Follow the instructions on the sealant tube carefully:
- Run a bead of sealant along seams, edges, and around any vents or fixtures.
- Smooth the sealant with a putty knife or your finger for even coverage.
Allow to Cure: Let the sealant cure per the manufacturer’s recommendations. Typically, full curing can take 24-48 hours.
Maintaining the Sealed Surface
To ensure your camper stays leak-free, consider these maintenance tips:
- Regular Inspections: Check your roof at least twice a year.
- Immediate Repairs: Address new cracks or deteriorating sealant promptly.
- Proper Storage: Store your camper under a cover or in a garage if possible.
A well-sealed roof not only prevents leaks but also helps maintain the camper’s interior, safeguarding your travel investment.
Thinking Beyond Camper Maintenance
While securing your camper roof is crucial, it’s also important to think about your financial well-being. Whether you’re a camper enthusiast or just getting started, knowing about various financial resources can lighten your financial load and offer peace of mind.
Here are some programs and solutions that could be beneficial:
- Government Aid Programs: Assistance options for repairs if you’re facing economic hardships.
- Educational Grants: Opportunities that allow you to learn about maintenance and repairs.
- Credit Card Solutions: Cards with favorable terms for purchasing maintenance supplies.
- Debt Relief Options: Programs tailored to alleviate financial stress.
Taking advantage of these resources can transform your camper experience by aligning your financial strategy with your adventurous lifestyle.
Financial Assistance & Educational Opportunities
- 💸 Gov Assistance Programs: Check for repair aids or emergency help.
- 🎓 Trade School Grants: Scholarships for learning auto and RV maintenance.
- 💳 Low-Interest Credit Cards: Manage maintenance costs right.
- ⚖️ Debt Relief Services: Support for managing high-interest debts.
- 🚐 Camper Clubs: Join communities offering discounts and learning events.
Embrace adventure, secure your camper, and consider these financial tools to pave a less burdensome financial journey as you embark on your next great escape.