Mastering the Art of Roofing a Hip Roof with 4 Dormers
Roofing a hip roof with four dormers presents a unique challenge but also an opportunity to enhance the architectural appeal and increase the value of your home. This task, while complex, can be tackled successfully with a bit of preparation and knowledge. Here’s how you can effectively roof this intricate structure.
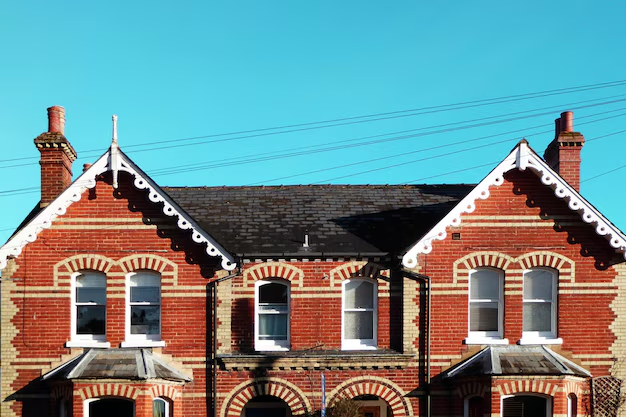
Understanding the Architecture
A hip roof slopes down on all sides, while dormers are structures that protrude from the slope of the roof, accommodating windows to provide additional light and space. The combination creates both a beautiful design and a challenging roofing project. Each dormer introduces breaks in the roofline that require specific attention to detail to ensure proper sealing and waterproofing.
Step-by-Step Roofing Process
1. Prepare Your Materials and Tools
Before you begin, gather all necessary materials and tools:
- Roofing shingles or tiles
- Roofing nails and a nail gun
- Flashing materials
- Roofing felt or underlayment
- Metal drip edges
- Measuring tape, chalk line, and utility knife
2. Install the Underlayment
Underlayment provides an essential waterproof barrier beneath the roofing materials. Roll out the roofing felt from the eaves to the ridge, ensuring there’s sufficient overlap between sheets. Secure it with roofing nails.
3. Lay the Drip Edge
Metal drip edges should be installed along the edges of the roof and dormers to help direct water away from the fascia and into the gutters. This step is crucial in preventing wooden components from rotting.
4. Begin Shingling from the Bottom Up
Start from the bottom corner and work your way up, following the chalk lines for precision. When you reach the dormer sides, cut shingles to fit snugly against the dormer walls. Nail each shingle securely, ensuring there are no gaps that could lead to water infiltration.
5. Flash Dormer Connections
Flashing is critical around dormer bases where roof planes intersect. Use step flashing along the dormer walls and counter flashing over the top. Ensure all flashing is tightly sealed with quality roofing cement to prevent leaks.
6. Ventilation and Final Touches
Ensure that your roofing project includes appropriate ventilation to extend the life of your roof. After addressing ventilation, add ridge caps at the peaks of the roof and dormers for a clean, finished look, ensuring a watertight seal.
Roofing a hip roof with dormers not only requires the right technique but also financial awareness to manage potential costs. Turning your attention to financial resources and assistance can make this process more feasible.
Exploring Financial Assistance and Opportunities
Successfully completing your roofing project doesn't have to be financially draining. Here are some useful financial assistance programs and opportunities:
- 🏠 Home Improvement Loans: Investigate government-backed loans or credits that offer lower interest rates specifically for home renovations.
- 🔧 Housing Grants: Check eligibility for federal or local government grants aimed at promoting sustainable housing improvements.
- 💳 Flexible Credit Options: Consider credit card solutions with special financing offers or interest-free periods to spread out costs.
- 🎓 Educational Workshops: Attend workshops or classes that offer homeowner training and education on efficient home improvement techniques to save costs in the long run.
- 🏘️ Community Programs: Explore community-based initiatives that provide financial support for home maintenance and repairs, especially for lower-income families or elderly homeowners.
Approaching your roofing project with a mix of detailed planning and financial savvy will ensure success in both structural integrity and cost management. As you move forward, knowing and leveraging the financial resources available can turn a daunting task into a manageable and rewarding experience.