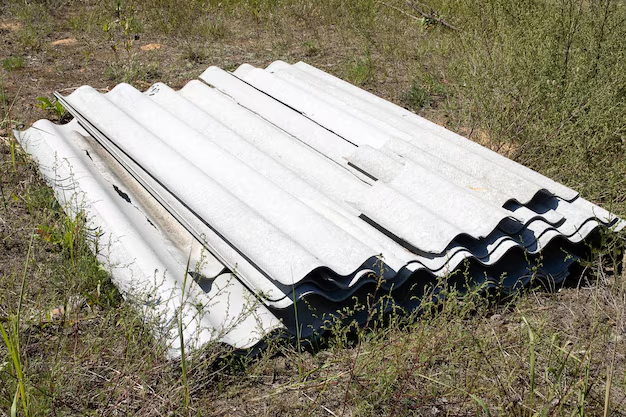
Need to Replace Your Shingle Roof? Here's How You Can Do It!
Replacing a shingle roof might sound like a daunting task, but with the right approach and materials, it can be a manageable DIY project. Whether your roof has succumbed to age, weather damage, or simply needs a refresh, following these steps will help ensure a smooth roof replacement.
1. Assess the Damage
Before beginning any repairs, closely inspect your roof. Look for missing, cracked, or curled shingles, deteriorated flashing, and water damage signs in your attic. This will help determine the extent of the replacement.
2. Gather Your Tools and Materials
Prepare all necessary tools: a roofing nailer, chalk line, utility knife, ladder, hammer, and a pry bar. For materials, you'll need shingles (of the same type and color), roofing nails, roofing felt, and possibly roof sealant.
3. Safety First
Roof work can be hazardous. Ensure you have a sturdy ladder and wear rubber-soled shoes for grip. Consider installing safety harnesses.
4. Remove Old Shingles
Using a pry bar, remove the old shingles by prying under each shingle to lift and detach it from the roof. Start from the top of the roof and work your way down to prevent debris from building up on freshly exposed areas.
5. Inspect and Repair Roof Decking
Once you've removed all the old shingles, inspect the roof decking for damage. Replace any rotten or damaged areas with new plywood. Check the flashing around chimneys, vents, and valleys. Replace any that show signs of wear.
6. Install Underlayment
Lay down roofing felt over the bare decking. Starting at the bottom edge of the roof, roll out the felt, aligning the edge with the eave. Secure it in place with roofing nails.
7. Begin Shingling
Start placing shingles from the bottom edge of the roof, moving upward. Follow the staggered pattern recommended by the shingle manufacturer to ensure proper water runoff. Use a chalk line for straight guideline markings and ensure a tight fit at each row end. Secure each shingle with roofing nails, following the manufacturer's instructions for placement.
8. Install Ridge Cap Shingles
Once the main sections of your roof are complete, install ridge cap shingles along the roof's ridges using roofing nails. These specialized shingles are slightly thicker and give additional protection against wind.
9. Perform a Final Check
Go over your work to ensure no nails are exposed, all shingles are securely fastened, and there are no missed spots.
10. Clean Up
Dispose of old shingles and debris in accordance with local waste management regulations. Do a thorough yard inspection to collect any fallen nails or sharp materials.
Replacing a shingle roof is an investment in your home's safety and aesthetic. But the costs involved, whether for materials or professionals, can be significant. Thankfully, there are programs designed to help with such expenses.
Financial Assistance and Resources for Roof Replacement 💡
Home Improvement Loans: Low-interest loans may be available through banks or credit unions for home renovations.
Government Grants: Some state and local governments offer grants for home improvement, particularly for energy-efficient upgrades.
Energy-Efficient Mortgage Programs: These allow homeowners to finance energy-efficient renovations, which can include certain roofing projects.
FHA Title I Property Improvement Loans: These can be used for home renovations and are insured by the Federal Housing Administration.
Charitable Organizations: Nonprofits like Habitat for Humanity may offer assistance or low-cost options for necessary home repairs.
Don't Overlook Insurance Claims: If your roof damage is due to a storm or other covered event, check with your homeowner's insurance policy about filing a claim.
Taking advantage of these options can significantly reduce the financial burden of roof replacement, making it a feasible task for homeowners in various financial situations.

