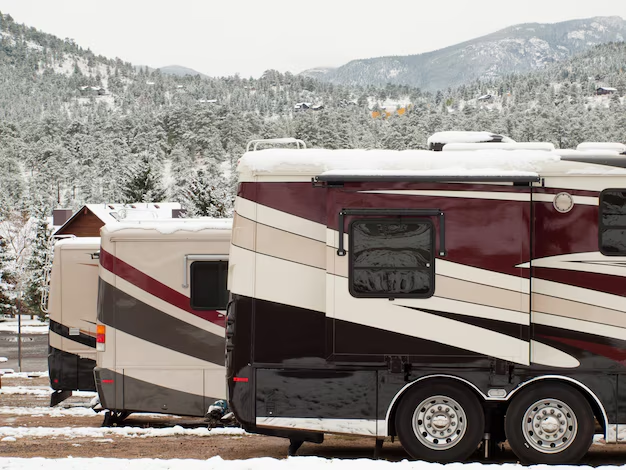
Discover How to Fix Your RV Roof Like a Pro
Taking your RV on frequent adventures is a thrilling experience, but it does come with its own set of maintenance challenges. Chief among these is dealing with a leaky or damaged RV roof. Repairing an RV roof might sound daunting, but with the right steps and materials, you can tackle it effectively and ensure your home-on-wheels remains cozy and dry.
Identifying the Problem
Before you embark on any repairs, it’s crucial to identify the exact issue with your RV roof. Common problems include tears, holes, loose seams, and water damage. Here’s how you can pinpoint the trouble:
- Inspect Regularly: Routine checks can help catch damage early. Look for discoloration, sagging, or visible leaks.
- Test for Leaks: Use a hose to spray water over your RV roof and check the interior for leaks.
- Feel for Soft Spots: Walk on your roof carefully to feel for areas that seem softer than others, indicating potential water damage.
Essential Tools and Materials
Having the right tools at your disposal is essential for a smooth repair process. Here’s what you need:
- EPDM or TPO Patch Kit: Depending on your roof type, use a suitable patch kit.
- Sealant or Caulking Gun: Look for a non-silicone sealant specifically designed for RVs.
- Cleaning Materials: Use gentle detergents and soft brushes to prepare the roof surface.
- Protective Gear: Safety goggles and gloves will help protect you while working.
Step-by-Step Repair Guide
1. Prepare the Roof Surface
Thoroughly clean the roof to remove dirt, debris, and any old sealant. A clean surface ensures better adhesion for your patches and sealant.
2. Apply Patches
Use your EPDM or TPO patch kit to cover holes or tears. Cut the patch to size, ensuring it extends beyond the damaged area by a few inches. Apply the adhesive evenly, place the patch, and press firmly to eliminate air bubbles.
3. Seal Edges and Seams
With your sealant or caulking gun, carefully seal along the edges of the patches, seams, and any fixtures. A steady hand will provide a smooth bead, preventing water penetration.
4. Inspect and Test
Give the repair sealant adequate time to dry before testing. Once set, spray water over the repaired area and check inside for any signs of leakage. Repeat patching and sealing if necessary.
Tips for Preventing Future Repairs
- Regular Maintenance: Clean and inspect your RV roof at least twice a year.
- Protective Coatings: Consider applying a UV-resistant coating to lengthen the life of your roof membrane.
- Cover When Not in Use: Use an RV cover to protect your roof from harsh weather conditions and UV damage.
Preventative maintenance and prompt attention to minor issues can help you avoid costly repairs down the line. While some RV roof repairs are DIY-friendly, extensive damage might require professional assistance. In such cases, financial help is often a concern.
Financial Assistance and Resources
For those worried about the expenses of maintaining an RV, several aid options exist:
- 💸 Government Grants: Opportunities like weatherization assistance programs offer money for energy-efficient improvements, sometimes covering roof repairs.
- 🏦 Low-Interest Loans: Many banks provide specialized loans for RV repairs, offering lower rates than typical consumer loans.
- 🧑🎓 Educational Workshops: Look for community college courses on RV maintenance for hands-on learning—some institutions provide grants to cover course fees.
- 💰 Debt Relief Programs: If high repair costs lead to financial strain, consult with a certified financial planner regarding potential debt relief options tailored for RV owners.
- 💳 Credit Card Rewards: Consider using a credit card with repair-related cashback deals or low-interest rates to manage costs.
Keeping your RV roof in top shape is key to enjoyable travels, and with these resources, you can ensure every trip is smooth sailing.

