A Step-by-Step Guide to Fixing Your Camper Roof
If you love the freedom of exploring with your camper, you know how important it is to keep it in top condition. However, one of the most common problems that can ruin your road adventures is a leaking or damaged roof. Fortunately, repairing your camper roof can be a manageable DIY task if approached correctly.
Identifying the Problem
Before you jump into fixing your camper's roof, identify the issues at hand. Common problems include leaks, cracked seals, or torn roof membranes. Inspect your roof thoroughly, paying close attention to seams and areas around protrusions like vents. Look for signs of water damage both inside and on the roof itself.
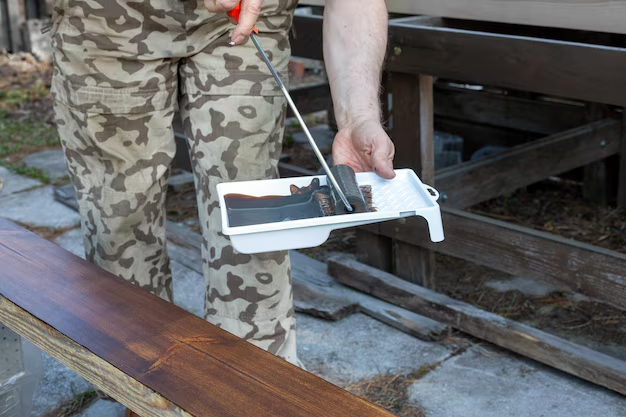
Gather Your Tools and Materials
Having the right tools can save you time and ensure success. For most repairs, you'll need:
- Roof sealant or tape
- Replacement roofing materials, if necessary
- Caulking gun
- Utility knife
- Putty knife
- Sandpaper
- Clean cloths
- Ladder or scaffolding for safety
Repair Steps
1. Clean the Roof
Before applying any repairs, ensure your roof is thoroughly cleaned. Use mild soap and water to remove dirt and debris. Let it dry completely, as moisture can impede the bonding of sealants and patches.
2. Seal Small Leaks
For minor leaks, apply a roof sealant designed for your camper's roof material. Use the caulking gun to lay a consistent bead of sealant over seams or cracks, smoothing it with a putty knife for even coverage.
3. Patch Larger Areas
If larger sections are damaged, you might need to apply a patch. Cut a piece of repair material slightly larger than the damaged area. Remove any loose materials, then sand the area to ensure adhesion. Apply adhesive and press the patch firmly in place. Seal the edges with roof tape to prevent peel-up over time.
4. Check and Reseal Protrusions
Vents, AC units, and other protrusions are common leak sources. Inspect and re-seal these areas by applying sealant generously around their bases.
5. Regular Maintenance
After repair, commit to regular inspections. Keeping your camper roof in good condition is easier when you address problems as they arise. Performing seasonal inspections can save you hefty repair costs in the long run.
Financial Tips for DIY Enthusiasts
Repairing a camper roof yourself not only saves you money but also gives you a hands-on understanding of your vehicle. However, if you find that repairs or maintenance are outside your skillset or financial reach, do not despair. There are financial assistance options to consider:
- ⛺ Government Aid Programs: Many government initiatives can help with emergency repairs or maintenance, especially post-natural disasters.
- 🛠️ Home Improvement Loans: Some banks offer specific loans for vehicle and home repairs at lower interest rates.
- 🎓 Educational Grants: For those interested in broadening their skills, grants for technical education or workshops related to automotive repairs might be available.
- 💳 Credit Card Solutions: Consider credit cards that offer cashback or rewards for home improvement purchases.
- 🔄 Debt Relief Options: If financial strains make camper upkeep difficult, explore debt relief programs to restructure your financial commitments.
Remember, maintaining your camper is crucial for safe and enjoyable travels. With a bit of effort and the appropriate tools, your camper's roof can be as road-ready as ever! Whether by DIY or through financial assistance, ensuring your roofing needs are met is an investment in countless future adventures. 🌟