Clear Your Roof: Effective Tips for Removing Moss from Shingles
Moss on roof shingles can be both an eyesore and a potential issue that may lead to roof damage if left unchecked. Those charming green patches may seem harmless, but they can wreak havoc over time by keeping your roof damp, leading to shingle erosion or even leaks. Fortunately, removing moss isn't as daunting as it seems. With a little elbow grease and the right approach, you can restore your roof's look and integrity.
Why Remove Moss?
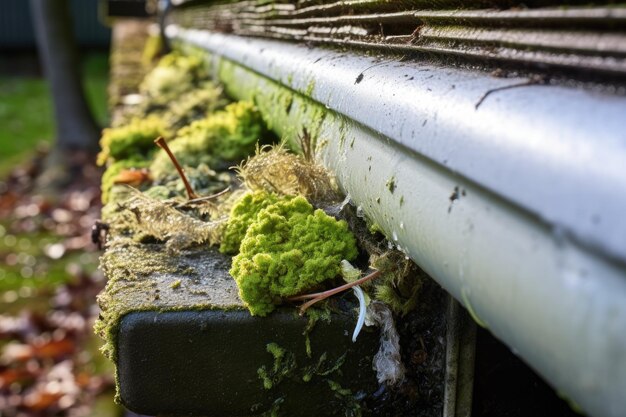
Moss thrives in damp environments, making shaded areas of your roof its perfect home. While a small amount might appear harmless, its presence can trap moisture against the shingles, accelerating decay and potentially leading to costly repairs down the line. Addressing it early keeps your roof in tip-top shape and saves you money in the long run.
Steps to Remove Moss Safely
1. Safety First
Before embarking on your moss removal journey, prioritize safety. Use a sturdy ladder and wear non-slip shoes. It's advisable to have someone spot you while you work. Avoid working on the roof in wet or icy conditions to prevent accidents.
2. Gather Your Supplies
You'll need:
- Soft-bristle brush: Ideal for gently scrubbing moss without damaging shingles.
- Garden hose: To rinse away loosened moss and debris.
- Cleaning solution: Mix 50% water and 50% vinegar or buy a commercial roof cleaner. Avoid using harsh chemicals like bleach which can damage your roof and surrounding plants.
3. Apply the Cleaning Solution
Spray your cleaning solution on mossy areas. It’s crucial to apply generously and let it sit for about 20-30 minutes. This duration allows the solution to penetrate and weaken the moss's grip on your shingles.
4. Scrub Gently
Use the soft-bristle brush to scrub the moss off the roof. Work in small sections, always starting from the top and moving downward to avoid lifting shingles. Be patient and thorough—less aggressive scrubbing is better for your roof's longevity.
5. Rinse Well
Once you have scrubbed the moss away, use your garden hose to rinse the roof, starting from the top. This action will remove any leftover moss particles and cleaning solution.
6. Inspect and Maintain
After cleaning, inspect your roof for any other signs of wear or needed repairs. To prevent moss from growing back, you may consider zinc strips which release a moss-killing compound during rain.
Bonus Tips
Regular roof inspections and cleanings help keep moss and other issues at bay. Consider trimming tree branches that shade your roof to minimize moss growth potential.
Exploring Financial and Educational Opportunities
Roof maintenance can become a recurring expense, especially in older homes. Thankfully, there are various resources to ease the financial burden:
Government Home Repair Grants: Some programs offer funds to help homeowners maintain or repair roofs.
Home Improvement Loans: Low-interest loans specifically for home improvement projects can be a viable option.
Credit Card Solutions: Some credit cards offer rewards or cashback incentives that could be utilized for home repairs.
Local Workshops and Educational Grants: Many community centers offer DIY workshops or grants for learning home maintenance skills, saving you on professional costs in the future.
Take advantage of these resources to ensure safe and cost-effective home maintenance. Keeping your roof moss-free not only enhances curb appeal but also secures the investment in your home.
Useful Resources 🚀
- 🏠 Government Home Repair Grants: Check with local housing authorities.
- 💸 Home Improvement Loans: Available at many banks and credit unions.
- 💳 Credit Solutions: Explore rewards or cashback credit card offers.
- 🎓 Educational Workshops: Community centers often offer free classes.
Taking proactive measures today ensures the roof over your head remains strong and within budget.