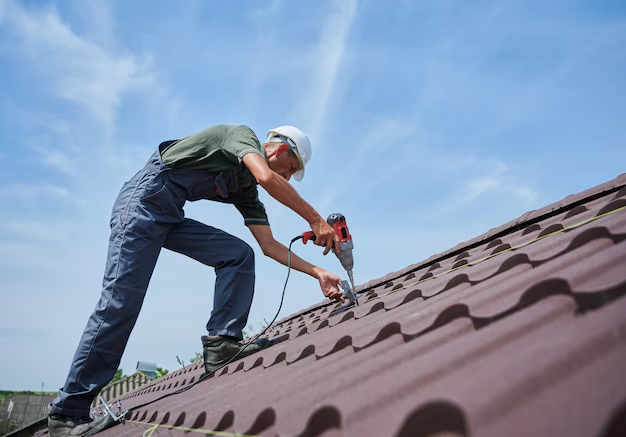
Step-by-Step Guide to Installing Roof Shingles
Installing roof shingles can seem like a daunting task, but with the right tools and a bit of guidance, it’s a project many homeowners can tackle themselves. Whether you’re looking to improve your house's curb appeal or need to replace worn-out shingles, a new roof can significantly enhance your home's value and protection.
Preparing Your Roof
To start, ensure your roof is clean and dry. Any lingering debris or moisture can affect the shingles' adhesive qualities. Safety first—use a secure ladder and install ladder stabilizers to prevent slipping.
Gather Your Materials
Before you begin, make sure you have the following tools and materials:
- Starter strip shingles
- Roofing nails and a hammer
- Roofing felt or underlayment
- A utility knife
- Roof cement
- Chalk line
- A pry bar
Installing the Underlayment
Roll out the roofing felt or underlayment across the entire surface of the roof, securing it in place with the roofing nails. This layer is crucial as it adds extra protection against moisture. Overlap the edges by a few inches to ensure no gaps are present.
Laying the Starter Shingles
Begin by installing the starter strip shingles along the edge of the roof. These act as an anchor for the subsequent shingle rows. Make sure they hang over the roof edge slightly to direct water into the gutters.
Installing the Shingles
Align and nail down the shingles: Start from the bottom corner and work your way across the roof. Use chalk lines to maintain a straight path and prevent misalignment.
Stagger the shingles: Begin the next row with a half shingle, creating a staggered pattern. This not only looks appealing but also provides improved coverage and reduces leak risks.
Proper nailing: Use at least four nails per shingle, ensuring that they’re placed as per manufacturer guidelines. Incorrect nailing positions can lead to shingle exposure or slipping.
Seal the Deal
Once the shingles are in place, apply roof cement under the edges of the outer shingles and on any exposed nail heads to guard against water penetration.
Ensuring Success
After installing your shingles, double-check for any loose nails or shingles. Damaged ones should be promptly replaced to prevent future problems. Regular maintenance will help extend the life of your new roof.
Exploring Financial Options
Installing a new roof can be a significant home improvement project, but there are financial resources available to ease the burden. If budgeting for the materials and time is a concern, consider these options:
Home Improvement Loans: Offered by many banks and credit unions, these loans can cover costs associated with roofing projects.
Government Aid Programs: Look out for local government incentives that might help with energy-efficient roof installations.
Roofing Grants: Some non-profit organizations offer grants to homeowners, especially those located in areas with frequent adverse weather conditions.
Financing Through Contractors: Many roofing contractors offer financing options, allowing you to spread the cost over a more manageable timeframe.
Taking advantage of these financial solutions can make a roofing project more accessible, ensuring you maintain your home without undue financial strain.
Financial Assistance Opportunities
- 🏠 Home Improvement Loans: Check with local banks or credit unions.
- 🏛 Government Energy-Efficient Roof Grants: Available for eco-friendly installations.
- 📈 Contractor Financing Plans: Spread your payments over time for added flexibility.
- 💡 State or Federal Grants: Especially in areas prone to severe weather.
- 💳 Credit Solutions: Utilize credit cards with low-interest rates for material purchase.
Embarking on a roofing project not only enhances your home but can also be financially feasible with the right resources.

