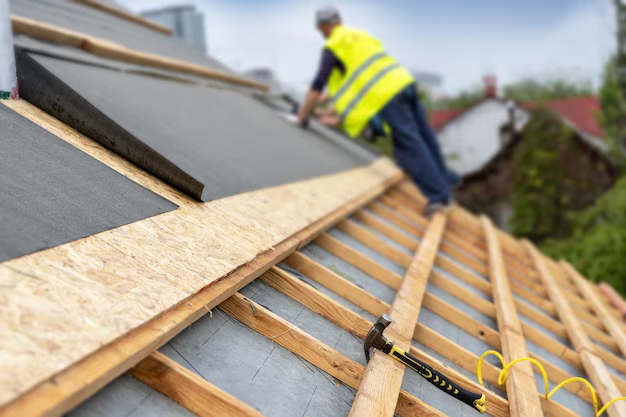
Mastering Roof Repair: A Practical Guide to Patching Your Roof
Few things can invoke a sense of urgency like discovering a leak in your roof. Whether it's a small drip or a more significant leak, roof damage should not be ignored. Patching a roof can be a straightforward DIY project if you have a toolbox and a bit of time on your hands. Here’s how you can tackle this task efficiently and effectively.
Assessing the Damage
Begin with a thorough inspection. Check for missing shingles, cracked tiles, or obvious holes. Be sure to look both outside and inside, particularly in the attic or crawl spaces where leaks might manifest as stains or damp spots on walls and ceilings.
Safety First
Before you ascend for a closer look, prioritize safety. Use a sturdy ladder and wear rubber-soled shoes to prevent slipping. If the weather conditions are rough or the roof is particularly steep, it might be best to call a professional.
Gathering Materials
Once you’ve identified the problem, gather the necessary materials and tools:
- Roofing cement
- A putty knife
- Replacement shingles or tiles
- Roofing nails
- Hammer
- Utility knife
- Waterproof tarpaulin (if the repair needs to be delayed)
Step-by-Step Patchwork
Remove Damaged Shingles
Use a flat pry bar or putty knife to gently lift the remaining pieces of damaged shingles if they are still partially attached. Remove nails carefully and ensure the surface is as smooth as possible for new material application.
Apply Roofing Cement
Spread a layer of roofing cement over the damaged area with a putty knife. Ensure that it fills all gaps and cracks to prevent future water ingress.
Attach Replacement Shingles
Cut replacement shingles to size with a utility knife. Nail them into place, using the old nail locations as a guide. Position them so they overlap properly with the existing shingles, creating a seamless connection.
Seal the Edges
Apply a thin layer of roofing cement under the edges of the surrounding shingles to ensure they adhere well to the new sections. This further prevents water from seeping underneath.
Final Inspection
To ensure your patch is comprehensive, review your work thoroughly. Check that all edges are sealed and that shingles are securely attached.
When to Seek Professional Help
Even the most diligent DIYer can recognize when a task is beyond their skills. If the damage is extensive or the roof has complex structures, hiring a licensed roofing contractor is wise. This will not only ensure safety but also protect your home as a long-term investment.
Exploring Support for Roof Repairs
The cost of roofing materials and tools can add up quickly. If you're worried about finances, explore the following resources for assistance:
- 🌟 Government Aid Programs – Many states offer financial assistance programs for home repairs, especially for seniors and low-income families.
- 💳 Credit Card Solutions – Look into credit cards with low-interest rates or financing offers to spread the cost of your repairs.
- 📝 Educational Grants – Check if your local community college offers workshops or classes on home repairs for hands-on learning and cost-effective solutions.
- 💵 Homeowners Insurance – Review your policy, as some roof repairs may be partially covered, especially if damage is due to insured perils like storm damage.
- 🏠 Non-Profit Organizations – Seek out organizations that provide home repair services for those in need.
Taking care of your roof is crucial, not only for your home's protection but also for peace of mind. By understanding the basics of roof repair and exploring available resources, you can tackle the project with confidence and financial health in mind.

