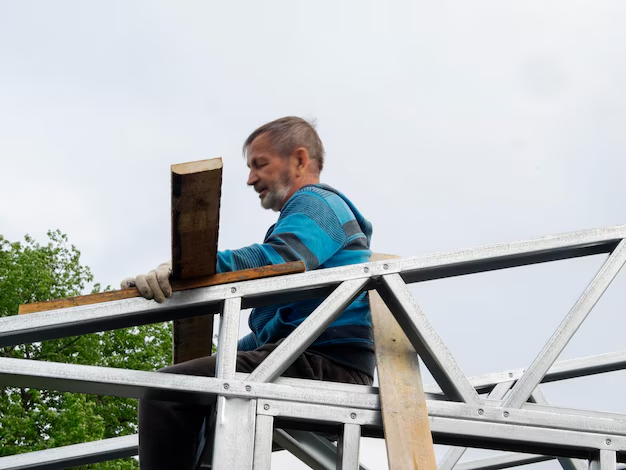
Building the Perfect Shed Roof: A Step-by-Step Guide
Constructing a shed roof might seem like a daunting task, but with some guidance and the right materials, it's a project that can be tackled by even the most novice DIY enthusiast. Whether you're looking to create additional storage space in your garden or work on a small woodworking project, building a sturdy roof is essential for keeping your shed safe from the elements. Here's how you can go about it.
Selecting the Right Materials
The first step in building a shed roof is choosing the appropriate materials. Typically, roofs are either constructed with asphalt shingles, metal sheets, or wood shakes. Each of these materials has its own benefits. Asphalt shingles are economical and easy to install, metal sheets offer durability and low maintenance, while wood shakes provide a traditional aesthetic.
Designing the Roof Structure
Once you've settled on materials, the next phase involves designing the roof structure. The most common types of shed roofs are flat, gable, and skillion roofs. A gable roof is often more durable due to its pitched design, effectively shedding rain and snow. On the other hand, a flat roof is easier to construct if your shed doesn't need to handle significant water runoff.
Building the Roof Frame
Now, onto constructing the roof frame:
Cut the Rafters: Measure and cut your rafters based on the pitch and size of your shed. Ensure they are consistent to maintain stability.
Assemble the Trusses: Use a flat surface to assemble your trusses, nailing temporary braces along the planks to stabilize them.
Install the Truss onto the Top Plates: Carefully position each truss and attach it to the top plates of your shed walls with galvanized nails. Ensure they are evenly spaced.
Add the Roof Decking: Cover the trusses with plywood or oriented strand board to form the roof deck, securing them tightly with screws for durability.
Roofing Underlayment and Shingles
To start on the roofing underlayment:
- Roll out a layer of roofing felt or tar paper over the plywood, starting from the base and working your way up. Secure each section with a staple gun.
Proceed with installing the shingles:
- Begin with a starter strip at the bottom edge.
- Lay the first row of shingles over the starter strip, nailing down each shingle securely.
- Continue laying shingles, overlapping each row, until you reach the top.
Final Touches and Maintenance
Once your shingles are installed, finish with ridge caps to cover the peak of the roof. Check all seams for water-tightness and ensure proper ventilation for moisture control.
Regular maintenance, such as clearing debris and checking for damage, will extend the lifespan of your shed roof.
Crafting a high-quality shed roof not only adds value but also boosts the usability of any backyard space. Building it correctly involves careful planning and the right approach. If financial constraints pose a hurdle, numerous assistance programs are available to support you.
Top Financial Resources for DIY Enthusiasts:
💰 Government Grants for Home Improvement Projects: Explore various federal and state programs that offer grants for construction and renovation.
🏦 Low-Interest Personal Loans: Consider a low-interest loan if upfront costs are a concern. Always read terms carefully.
💼 Educational Workshops: Many community centers offer free or low-cost workshops on carpentry and DIY projects.
🏡 Home Equity Lines of Credit: If you own property, a HELOC may provide the funds needed for larger projects.
💳 0% Intro APR Credit Cards: Finance your project without immediate interest payments, but ensure timely repayments to avoid high rates post-promotion.
With these tools at your disposal, making your shed roof a reality can become an increasingly accessible and feasible endeavor.

