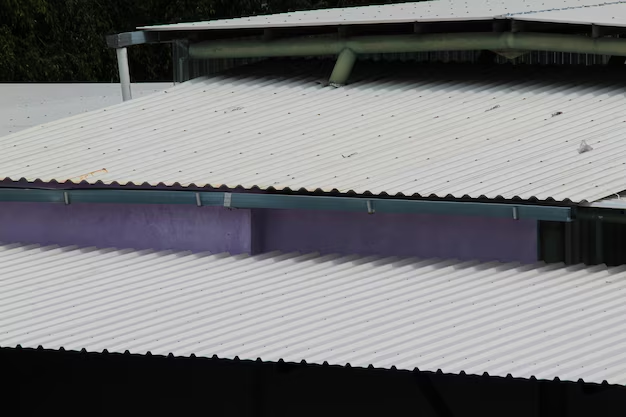
Transform Your Shed: A Simple Guide to Shingling the Roof
Ever glanced at your backyard shed and thought it's time for a makeover, starting with the roof? Updating your shed with sturdy, attractive shingles not only provides protection but also enhances its aesthetic appeal. If you're gearing up to tackle this project yourself, we've got you covered. Follow these steps to learn how to efficiently lay roof shingles on your shed.
Gathering the Essentials
Before you begin, ensure you have all necessary materials and tools ready. Here's your checklist:
- Shingles (asphalt is commonly used for sheds)
- Roofing nails
- Hammer
- Roofing felt
- Utility knife
- Ladder
- Measuring tape
- Chalk line
- Safety gear (gloves, goggles)
Prepping the Roof
- Clean the Surface: Ensure your shed's roof is clean and dry. Remove any debris or old roofing material.
- Install Drip Edge: Secure drip edge along the eaves to prevent water damage.
Applying Roofing Felt
- Roll Out the Felt: Begin by laying the roofing felt across the surface. Start at the bottom edge and move upward, ensuring that each layer overlaps the previous one by at least 2 inches.
- Secure the Felt: Use roofing nails to affix the felt. Make sure it's snug and wrinkle-free.
Shingling the Roof
- Start with the Starter Strip: Take your first shingles and cut off the tabs. Lay them along the bottom edge of your roof, overhanging slightly.
- Lay the First Course: Begin with a full shingle at the lower corner and extend across, cutting to fit as necessary. Use four nails per shingle, ensuring they are adequately secured but not over-tightened.
- Continue Shingling: For the next row, start half a tab over from the edge of the first row. This staggers the seams and provides better water runoff. Use your utility knife to adjust shingle length as needed.
- Work Upwards: Gradually work your way up to the peak, maintaining the staggered pattern.
- Cap the Ridge: Cut shingles into thirds and lay them across the roof's ridge. These shingles should overlap and be secured with nails on each side.
Key Tips for Success
- Safety First: Always be cautious when working on a roof. Use a sturdy ladder and wear appropriate safety gear.
- Check Alignment: Regularly use your chalk line to ensure shingles are straight and properly aligned.
Now that your shed has a newly shingled roof, it stands not only as an eye-catching feature in your garden but also as a practical, weather-resistant structure.
In these times, it's also essential to ensure you're getting the best value out of your home improvement endeavors. Consider exploring programs and resources that can aid in financing your DIY projects.
Here's a curated list of financial options you might find beneficial:
🏠 Home Improvement Grants: Various government programs offer grants for exterior renovations, including those focused on energy efficiency. Check local and national options.
💳 Credit Card Solutions: Some credit cards offer rewards or cash back on home improvements. Compare cards to find one that provides the best benefits for home project expenses.
🎓 Educational Opportunities: Online courses can improve your DIY skills, often at no cost, enhancing your confidence and ability to undertake future projects.
💲 Budgeting Tools: Use streamlined apps or tools to budget your projects efficiently and keep track of expenses.
These resources not only support your current project but can also empower you for future endeavors, turning simple tasks into valuable investments.