Discover The Step-by-Step Guide to Installing Roof Shingles
Installing shingles on a roof can transform the look of your home and, importantly, protect it from the elements. While it may seem intimidating, with the right tools and guidance, it’s a DIY project within your grasp.
Prepare For Installation
Before you begin, ensure you have all the necessary tools and materials:
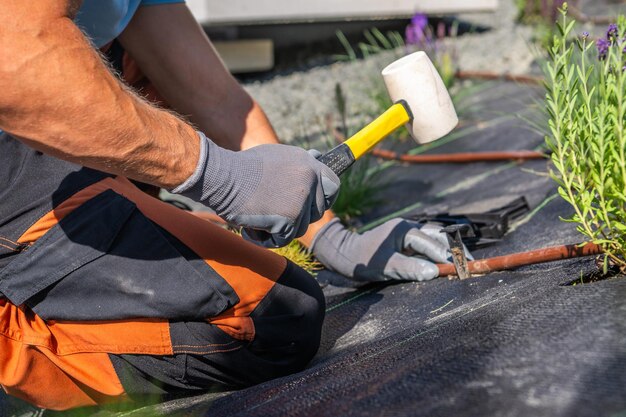
- Hammer 🛠️
- Roofing nails
- Utility knife
- Ladder
- Chalk line
- Roofing cement
Safety gear is equally important. Always use a sturdy ladder and a safety harness when working on a roof.
Removing Old Shingles
Removing old shingles is your first task. This step ensures that your new shingles will lay flat and adhere correctly. Use a shingle scraper or a roofing shovel to remove the old ones, taking care to clear away any debris.
Install Underlayment
With the roof cleared, lay down the roofing underlayment. This layer adds extra protection against moisture. Begin at the eave and work towards the peak, overlapping each sheet as you go. Secure it with roofing nails or staples.
Flashing and Drip Edge
Next, install the drip edge and flashing. Drip edges help water run off, safeguarding the roof's edges. Flashing, on the other hand, is used around chimneys or roof joints to prevent leaks. Both are secured with nails.
Begin Laying Shingles
With the underlayment set, it’s time to lay the shingles:
- Start from the bottom: Lay a starter row along the eave, offset from the drip edge.
- Align the first shingle: Use a chalk line to maintain a straight line along the bottom edge.
- Nail it down: Place nails about an inch from each end of the shingle and one inch above its cutouts.
Overlap Correctly
Install each subsequent row of shingles so that they overlap the previous one. This overlap is vital to ensure water runs off the roof efficiently. Adjust accordingly as you work your way to the peak of the roof.
Ridge Caps
Finally, install the ridge cap shingles along the roof's peak. These specialized shingles help protect the top of the roof from leaks.
Completing this project requires patience and attention to detail. However, the satisfaction of a well-done job and the savings on professional labor costs make it worthwhile.
Taking on a roofing project yourself can save money, but if funds are tight, there are financial resources to consider which may provide the help you need to maintain your home:
- 🏠 Home Improvement Grants: Check local government programs that offer grants or interest-free loans for home repairs.
- 💳 Credit Card Solutions: Explore credit cards with low interest rates for financing immediate expenses.
- 📘 Educational Grants: Look into scholarships or grants if you decide to take formal classes on roofing or construction.
- 🤝 Non-Profit Organizations: Some organizations offer aid for home repairs to qualifying individuals or families.
Feel empowered to combine this practical skill with the multitude of available resources, and you can manage home improvements more comfortably and sustainably.