Easy Steps to Successfully Install a Roof Vent
Installing a roof vent might seem like a daunting task, but with the right guidance and tools, it can be a manageable and rewarding DIY project. Proper ventilation improves energy efficiency, protects shingles, and prevents moisture buildup in your home. Let’s walk through the essential steps to install a roof vent efficiently.
1. Choose the Right Roof Vent
Types of Vents: First, identify the type of vent that will best suit your roof’s needs. The most common are ridge vents, turbine vents, power vents, and box vents. Each has unique benefits, so consider factors like climate and attic space before making a decision.
2. Gather the Necessary Tools and Materials
Before you climb up the ladder, ensure you have all of the following:
- Safety gear (gloves, goggles, and a sturdy ladder)
- Roofing nails and a hammer
- Caulking gun and roofing sealant
- Utility knife and circular saw (for cutting the roof)
- Measuring tape
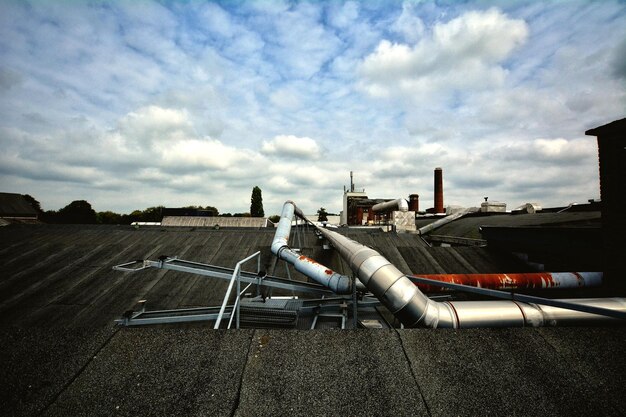
3. Prepare the Roof
Safety is priority number one. Start by securely setting up your ladder and ensure the roof’s surface is dry and safe to walk on.
- Locate the Installation Area: Position the vent at the highest possible point for best airflow, usually near the roof's peak.
- Mark Your Cut Area: Use your measuring tape and chalk to outline where you will cut the hole for your vent.
4. Cut the Vent Opening
Using the circular saw, cut along the marked lines to create an opening. Be cautious not to damage any roof trusses during this process.
- Remove Shingles: Peel back some shingles where you plan to install the vent to provide a flat surface.
- Cut the Roof Deck: Carefully cut through the deck, ensuring the hole fits the vent snugly.
5. Install the Vent
After cutting the appropriate opening:
- Position the Vent: Insert the vent into the hole, making sure it sits flush against the roof.
- Nail It in Place: Secure the vent by nailing it onto the roof as per the manufacturer's instructions.
- Seal the Seams: Apply roofing sealant generously around the edges to prevent water leaks.
6. Replace Shingles and Finalize
Once the vent is securely in place, reposition the shingles around it, trimming them if necessary to ensure a neat finish.
- Fasten with Nails: Use roofing nails to firmly attach shingles around the vent.
- Apply Additional Sealant: To ensure watertightness, add more sealant at overlap points and nail heads.
7. Inspect Your Work
Finally, double-check the installation to ensure all components are secure and watertight. Consider observing the vent during rainfall to ensure it performs correctly.
With these steps, you can confidently add a functional and protective element to your home. Proper roof ventilation can save on long-term costs by extending the lifespan of your roofing materials and maintaining optimal interior conditions.
Improving your home’s resilience doesn’t stop at roof ventilation. Whether you’re seeking home improvements or financial assistance, there are resources available you might not be aware of.
📋 Financial and Educational Resources
- 🏠 Government Home Improvement Loans: Low-interest loans for necessary home repairs.
- 💳 Credit Card Solutions: Balance transfer credit cards can help manage existing debt from major repairs.
- 💰 Energy Efficiency Rebates: Incentives for installing energy-efficient systems and materials, often available through state and federal programs.
- 🎓 Educational Grants: Many offer free training on home renovation and repair if you want to hone your DIY skills professionally.
- 📈 Debt Relief Options: Nonprofit agencies offer free advice on managing home-related debts.
Taking advantage of these opportunities can elevate your home improvement projects and transform the challenges of maintenance into pathways for financial growth.