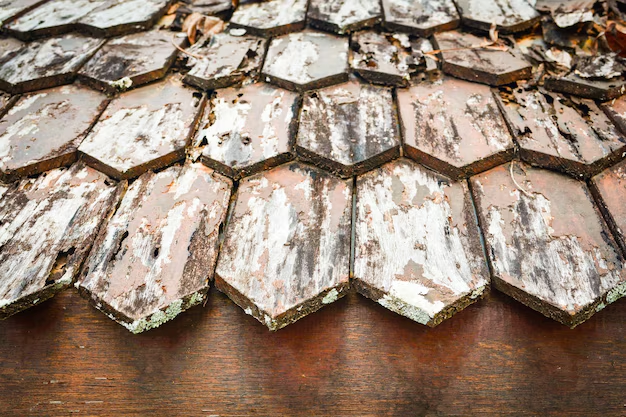
Elevate Your Home: Installing Roof Shingles Made Easy
Tackling a roof shingle installation might seem daunting, but with the right tools and know-how, you can approach this home improvement project with confidence. Whether you're freshening up your curb appeal or remedying weather damage, installing roof shingles not only shields your home from the elements but also boosts energy efficiency and property value.
Gathering Your Materials and Tools
Before you climb the ladder, ensure you have all the necessary materials and tools:
- Roofing shingles
- Roofing nails or nails with a galvanized finish to prevent rust
- Hammer or a nail gun for efficiency
- Roofing felt or underlayment for a foundation layer
- Roofing cement for waterproofing and securing edges
- Utility knife or shingle cutter for trimming
- Chalk line for straight alignment
- Ladder and safety harness for safety
Step-by-Step Installation Guide
1. Prepare and Inspect the Roof
Begin by removing old shingles and nails. Inspect the roof deck for any damage or rot, as these can undermine your new shingles. Replace any compromised sections.
2. Lay Down Underlayment
Roll out your roofing felt or underlayment, starting at the roof's edge. Secure it using staples or roofing nails. Make sure to overlap each layer by a few inches to prevent leaks.
3. Position the Starter Shingles
Install your starter strip along the edge of the roof. This foundational row should extend slightly beyond the drip edge to direct water away from the fascia. Ensure it's straight and secure with nails.
4. Align and Install Shingles
With a chalk line, mark a straight guide along the roof for alignment. Begin laying shingles from the bottom up, overlapping each row according to manufacturer instructions. Use four to six nails per shingle, just below the adhesive strip, and secure with a hammer or nail gun.
5. Trim and Flash
Use your utility knife to trim any excess materials around edges, chimneys, or vents. Apply flashing and roofing cement where necessary to protect these vulnerable areas from water infiltration.
6. Cap the Roof
To finish, apply ridge cap shingles along the roof's peak. These protect the roof’s seams and are secured similarly to the other shingles but require more precision to ensure they lie flush against the peak.
Safety and Sustainability
Remember, roofing can be hazardous. Always use a sturdy ladder and safety harness, and avoid working on steeper pitches without professional help. Furthermore, consider disposing of your old materials responsibly by recycling where possible.
Exploring Financial Options
Undertaking a roofing project is a significant investment. Fortunately, there are numerous resources to alleviate financial strain. Whether you're interested in government rebates for energy-efficient materials or need educational grants to hone your DIY skills, exploring these options can be a game-changer.
Quick Guide to Financial Assistance Programs 💰
- 🏠 Home Energy Assistance Programs: Offers incentives for using energy-efficient roofing materials.
- 💳 Credit Card Solutions: Look for zero-interest financing options or cash-back rewards on home improvement purchases.
- 🎓 DIY Education Grants: Provides funds for courses on sustainable home improvement practices.
- 📋 Government Housing Grants: May cover essential repairs and improvements, especially in low-income areas.
- 📉 Debt Relief Services: Advise on consolidating existing debt to free up funds for home projects.
By tapping into these programs, roofing a home becomes not just a feasible task but an opportunity to learn, save, and enhance your living space sustainably. Happy roofing, and may your efforts lead to a stronger and more vibrant home!