A Guide to Installing a Roof Rack: Get Ready for Your Next Adventure
Are you planning a road trip or need extra storage for your next adventure? Installing a roof rack could be a game-changer for transporting your gear safely and efficiently. Whether you're looking to haul bikes, luggage, or camping equipment, having a reliable roof rack is essential. Follow these steps to install a roof rack on your vehicle correctly and discover how this investment can potentially contribute to broader financial benefits.
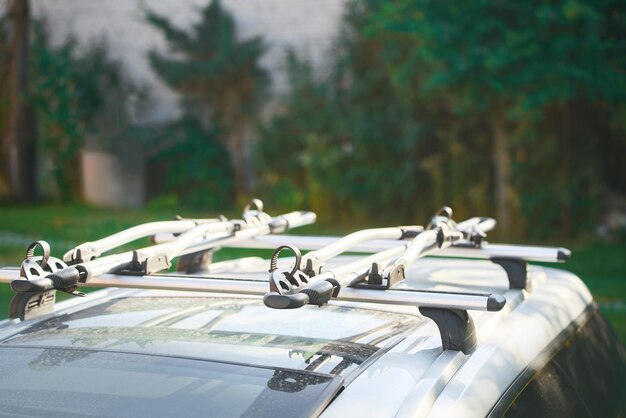
Preparing for Installation
Before getting started, you'll want to make sure you have the right tools and materials. Here's what you'll typically need:
- Roof rack kit (ensure compatibility with your vehicle)
- Measuring tape
- Allen wrench or screwdriver (often included with the rack)
- Ladder or step stool
- Optional: Protective padding or towels
Pro Tip: Clean the roof of your vehicle before beginning the installation to avoid scratches.
Step-by-Step Installation
Step 1: Verify Compatibility
Check the compatibility of your roof rack with your vehicle. Make sure the rack's weight limit can accommodate your gear. Most manufacturers provide guidelines on which models are compatible with their racks.
Step 2: Position the Rack
Position the roof rack on the vehicle. Align it according to the manufacturer's recommended positioning. Typically, this means centering the rack and leaving an equal distance from the front and rear ends of the roof.
Step 3: Attach the Mounting Clamps
Secure the mounting clamps to the roof bars. Use the Allen wrench or screwdriver to tighten the clamps, ensuring they snugly fit without over-tightening. Be sure they are evenly spaced to maintain balance.
Step 4: Check Stability
After securing the clamps, give the rack a gentle shake to ensure it doesn't move. It's crucial that the rack is tightly installed, as you don't want it shifting while driving.
Step 5: Load and Secure Your Gear
Begin loading your gear onto the rack. Use straps or bungee cords to secure items tightly, preventing any movement during transport.
Taking Your Investment Further
A roof rack does more than expand storage space; it enhances your vehicle's functionality and, by extension, potentially your financial freedom. Consider the added value this could bring if you plan to rent your vehicle for trips or offer rideshare services.
Moreover, the skills and confidence gained from installing the roof rack yourself can be an inspiring step towards DIY repairs and home improvements. The resources below might offer additional financial strategies or educational paths to explore:
📊 Financial Assistance & Education Programs
- Government Aid Programs: Investigate potential tax deductions for vehicle modifications related to business use.
- Educational Grants: For courses on advanced vehicle mechanics or engineering.
- Debt Relief Options: Consolidate loans that may offer lower interest rates for vehicle-related purchases.
- Credit Card Solutions: Utilize reward programs to offset travel or equipment costs.
- Business Investment Opportunities: Consider starting a side-hustle offering road trip rentals with your enhanced vehicle.
By equipping yourself with a roof rack, you're not only preparing for your next adventure but opening doors to potential financial growth. Embrace the opportunity to learn and explore possibilities that these added functionalities can bring to your life.