Mastering Roof Flashing: Essential Steps to Protect Your Home
When it comes to safeguarding your home against water damage, roof flashing plays a crucial role. Especially where the roof intersects with a wall, ensuring the proper installation of flashing can make a significant difference in preventing leaks. If you've ever wondered how to install roof flashing against a wall, you're not alone. Here, we demystify the process with easy, actionable steps and delve into additional resources that could provide further assistance.
Why Roof Flashing Is Important
Roof flashing is a material, usually made of metal like aluminum or galvanized steel, that is installed to direct water away from areas vulnerable to leakage. At points where the roof meets a wall, improper sealing can lead to significant water ingress, causing damage to both the interior and exterior of your home. Proper flashing installation ensures a watertight seal, protecting your investment for years to come.
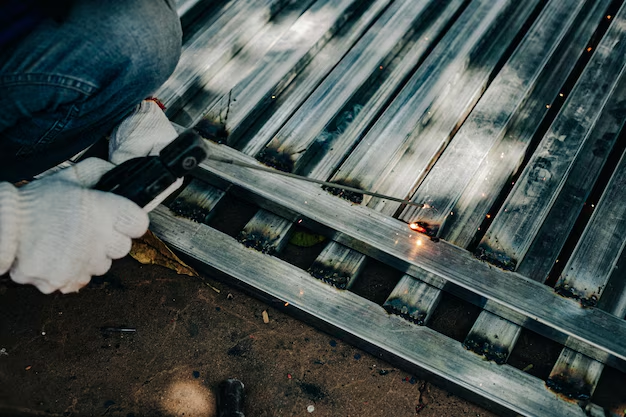
Steps to Install Roof Flashing Against a Wall
To get started, you'll need some materials and tools:
- Flashing material (metal flashing is recommended)
- Roofing nails or screws
- Roofing cement or sealant
- Hammer or screwdriver
- Tin snips (for cutting metal flashing)
- Measuring tape
- Chalk line or marker
1. Measure and Cut the Flashing
Start by measuring the length of the wall where the roof intersects. Use your measuring tape and cut the flashing to size using tin snips. The most common type of flashing used in these situations is step flashing, which overlaps at each shingle for added protection.
2. Position the Flashing
Position your first piece of flashing at the base of the roof and wall intersection. Ensure that one end of the flashing is under the shingle and the other against the wall. The bottom edge should extend slightly beyond the shingle below it.
3. Nail the Flashing
Secure the flashing with roofing nails, making sure to place them through the flashing and into the roofing deck, but not too close to the wall. This allows for any necessary movement due to temperature changes.
4. Layer the Flashing
Continue placing additional pieces of flashing up the wall, overlapping each piece by at least two inches. This layering technique, similar to shingles, ensures that water rolls off the flashing instead of seeping beneath it.
5. Seal the Flashing
Once all the flashing is in place, apply roofing cement or sealant along the edge where the flashing meets the wall. This acts as an additional barrier against water influx.
6. Check for Gaps
Inspect your work to ensure there are no gaps or unsealed edges. Double-checking your installation now can prevent major problems later.
Ensuring Home Security with Financial and Educational Resources
Installing roof flashing, while vital for home safety, can also be a costly affair. If you're feeling the financial pinch, there are several programs and resources that might help you out.
Financial and Educational Resources
🏡 Government Home Repair Grants: These grants may provide financial assistance to eligible homeowners for necessary home repairs and improvements, including roofing needs.
💳 Credit Card Solutions: Many credit card companies offer low-interest options or payment plans that can ease the burden of unexpected home repair costs.
🎓 Educational Grants: If you're passionate about learning how to do more extensive work yourself, certain educational grants and scholarships can help fund your training in home repair or trades programs.
📉 Debt Relief Options: If you're juggling multiple financial commitments, exploring debt relief options could simplify and centralize your repayments, giving you the headspace to focus on maintaining your home.
Thinking beyond the essentials of roof flashing can connect you to resources that streamline home maintenance and long-term financial health, empowering you to protect both your home and your financial future. 🛠️💼