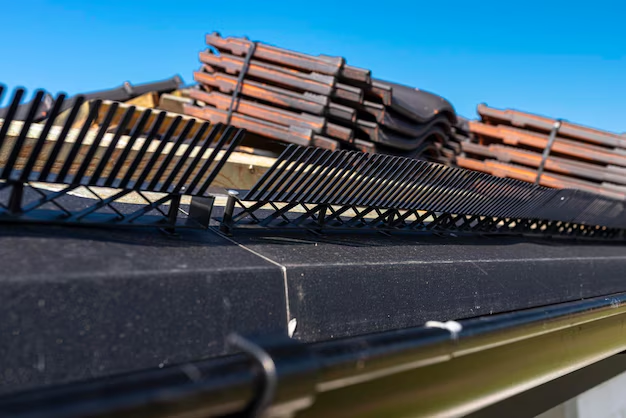
Mastering Roof Flashing Installation: Simple Steps to Secure Your Home
A roof not only defines the aesthetics of your home but also protects it from the unpredictable elements. Among the integral parts of a roof, flashing plays a crucial role in preventing water leaks and ensuring the overall durability of your roofing system. Installing flashing might seem daunting, but with some patience and the right tools, you can accomplish this home improvement task like a pro.
Why Roof Flashing Matters
Flashing is all about keeping water out. It acts as a waterproof barrier around joints, intersections, and edges where the roof surface meets vertical walls or other surfaces, like chimneys and skylights. Properly installed flashing stops water from seeping into your home, thus avoiding costly damages.
Tools and Materials Needed
Before starting, gather the necessary tools and materials:
- Flashing material (aluminum or galvanized steel)
- Roofing cement or sealant
- Hammer and nails
- Tin snips
- Measuring tape
- Ladder
- Safety gear (gloves, goggles, and harness)
Step-by-Step Guide to Installing Roof Flashing
1. Prepare and Plan
Begin by assessing the areas requiring flashing, typically around chimneys, vents, and where roofs meet walls. Measure these areas to determine how much flashing you'll need. Planning ensures you purchase enough materials and avoid multiple trips to the store.
2. Remove Obstructions
Clear any existing debris or damaged flashing. This step ensures a clean surface for the new installation.
3. Cut the Flashing
Use tin snips to cut the flashing to the measured lengths. Precision is key, as improperly cut flashing might not seal effectively, leading to leaks.
4. Secure the Flashing
Start attaching the flashing by hammering nails at least every 12 inches along its upper edge. Ensure the flashing is tightly secured, overlapping any roofing materials as needed to guide water over, not beneath the flashing.
5. Seal the Seams
Apply roofing cement or a suitable sealant to seal all seams. This layer provides additional protection against water ingress.
6. Inspect Your Work
Once installed, inspect your work ensuring there are no loose edges or gaps. Make any necessary adjustments or additional sealing to potential leak points.
Maintenance Tips
Regularly inspect your roof for signs of wear and tear. Spotting and repairing issues early prolongs the lifespan of your roof and prevents water damage to your home.
Additional Homeowner Insights
While mastering roof maintenance is financially savvy, you might consider exploring programs that offer financial assistance and educational resources. Maintaining a home can be costly, but there are supports available:
🏦 Government Grants: Programs like the Weatherization Assistance Program offer aid to homeowners for improving home energy efficiency.
💳 Debt Relief Options: If roofing expenses stress your budget, look into debt consolidation or relief programs to minimize financial burden.
📚 Educational Opportunities: Free online courses and workshops teach essential DIY maintenance skills, saving money on professional services.
Adopting a proactive approach by understanding and maintaining your roof, alongside exploring available financial resources, can uphold your home's integrity and reduce unexpected repair costs. With the knowledge of installing flashing and insights into financial support, you're empowered to keep your home safeguarded and financially healthy.

