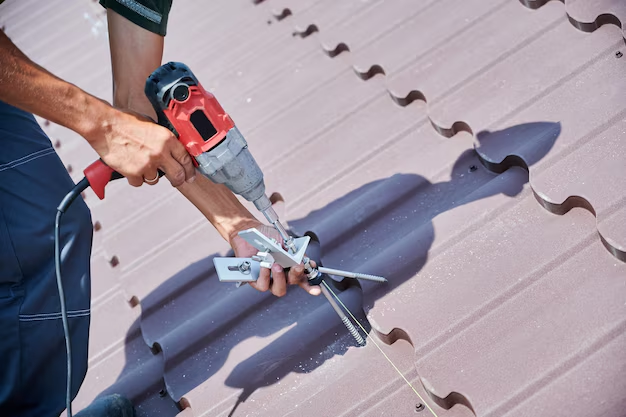
Mastering the Art of Installing Architectural Roof Shingles
Imagine your home topped with a sleek, modern roof that not only boosts curb appeal but also offers lasting protection. Architectural roof shingles are a popular choice for homeowners looking to make a statement while enjoying enhanced durability. But how does one go about installing these sophisticated shingles? Fear not, as we delve into the essential steps and tips to help you through the process.
Getting Started: Gather Your Materials and Tools
Before beginning the installation, ensure you have all the necessary tools and materials. You will need:
- Architectural shingles
- Roofing nails
- Hammer or nail gun
- Utility knife
- Chalk line
- Ladder
- Safety harness
- Underlayment (such as roofing felt)
- Drip edge
- Starter strip shingles
Safety first: when working on a roof, always prioritize safety by using appropriate gear and securing ladders and tools.
Step-by-Step Installation Guide
Step 1: Prepare the Roof
Start by removing any old roofing material. A clean, debris-free roof deck is crucial for a successful installation. Once clear, install the drip edge along the eaves, ensuring it is flush with the roof.
Step 2: Install Underlayment
Roll out the underlayment, starting from the bottom edge of the roof, and work your way up. Overlap each layer by about six inches to prevent water seepage, ensuring the roof remains weather-resistant.
Step 3: Lay the Starter Strip
Align the starter strip shingles at the roof’s edge, which helps create a watertight seal. Secure them with roofing nails, maintaining a gap of about 1/4 inch from the drip edge.
Step 4: Position the Architectural Shingles
Begin laying the architectural shingles from the bottom-up, following a pyramid shape. Align the first row to the starter strip, nailing each shingle about an inch above the cutouts. For added strength, place nails on both ends and in the middle.
Step 5: Use Chalk Lines for Alignment
Snap a chalk line every five courses to keep the rows straight. This ensures a polished, uniform appearance. Pay careful attention to the roof hips and valleys, where shingles must be carefully cut to fit.
Step 6: Cap the Ridge
Finish by installing ridge cap shingles along the roof peak and ridges. These shingles add the final touch, promoting water runoff and airflow under the roof, allowing the home to breathe.
Transform Your Home with Financial Strategies
Taking on a home improvement project like installing architectural shingles can be a significant investment. Fortunately, there are financial assistance options to ease the burden. Here are some avenues worth exploring:
- Home Improvement Loans: Consider home equity loans or lines of credit to finance your roofing project.
- Government Aid Programs: Check for state or municipal programs offering grants or low-interest loans for energy-efficient improvements.
- Energy Efficiency Rebates: Installing energy-efficient materials can qualify you for rebates from local utility companies.
- Credit Card Promotions: Some credit cards offer zero-interest promotional periods, ideal for spreading out expenses.
- Educational Workshops: Attend free workshops or seminars to learn more about roofing options and DIY methods to save on costs.
Taking the time to understand these options can turn a major project into a manageable, rewarding home update.
Explore Financial and Educational Opportunities:
- 💡 Energy-Efficient Rebates: Save money by reducing energy usage and qualify for rebates.
- 🏡 Home Improvement Loans: Tap into your home equity for accessible funding.
- 📈 Government Programs: Seek out local and state aid for energy-efficient upgrades.
- 💳 Credit Card Offers: Utilize zero-interest periods for manageable installment payments.
- 📚 Workshops: Learn useful skills through community educational programs and resources.
With the right approach, installing architectural shingles becomes more than a simple repair—it’s an investment in your home’s future and financial well-being.

