Installing Roof Vents: A Guide to Better Home Ventilation
Have you ever stepped up to improve your attic's ventilation and wondered how to install a roof vent? Proper ventilation is key to a healthy roof and a comfortable home. Not only does it extend the life of your roof by preventing moisture buildup that can lead to mold and rot, but it also helps regulate indoor temperatures. Let's dive into the simple steps to install a roof vent, ensuring your home's ventilation system is up to par.
Materials and Tools You'll Need
Before you begin, it’s essential to gather the necessary materials and tools. Here's a quick checklist to get you started:
- Shingle vent or other types of roof vents
- Hammer
- Roofing nails
- Pry bar
- Utility knife
- Chalk line
- Measuring tape
- Ladder
- Safety gear: gloves, goggles, and a harness
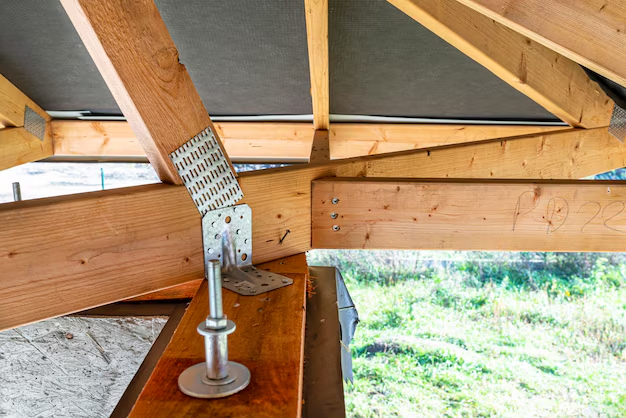
Step-by-Step Installation
1. Identify the Position for the Vent
Locate where you'd like to install the vent. Typically, vents are placed evenly across the roof and near the peak for effective airflow. Use a measuring tape and mark the location with a chalk line.
2. Cut the Vent Opening
Using a utility knife, cut along the outline marked on the shingles. Carefully pry off the shingles in that area with a crowbar. Cut an opening in the roof sheathing to fit the size of the vent. Always prioritize safety and use gloves and goggles during this process.
3. Install the Vent
Position the roof vent over the hole. Ensure the vent base is lying flat against the roof. Secure the vent by nailing it down with roofing nails. Make sure the vent fits snugly and that the seal is tight to prevent future leaks.
4. Reattach the Shingles
Replace the shingles you removed, making sure they cover the edges of the vent base. Seal any gaps with roofing adhesive to ensure your roof remains watertight.
5. Finish and Inspect
Once the vent is firmly installed, give a final inspection to ensure there are no loose materials or potential leaks. Consider having a professional inspection to verify your installation, especially if you are new to DIY projects.
Proper ventilation can also significantly reduce your energy costs. A well-ventilated roof decreases the load on cooling systems during summer, making your home more energy-efficient. If budget constraints prevent vent upgrades, various government programs and financial aid options might offer the relief you need.
Here's a list of financial resources for home improvement projects that you might find helpful:
- 🏠 FHA 203(k) Rehabilitation Mortgage Insurance: For purchase or refinancing, this HUD program facilitates the buying and renovation of an old house.
- 🏡 Weatherization Assistance Program (WAP): Helps families reduce energy costs by improving home energy efficiency.
- 💲 Home Equity Loan: Tap into your home's equity; it's specifically useful for big projects like roof replacement.
- 💡 Energy Efficient Mortgage Program: Federally insured loans for adding energy-saving measures.
- 🔧 Local Government Grants: Many local governments offer assistance programs for home improvements, especially those enhancing energy efficiency.
By following these steps and exploring financial assistance options, you can effectively manage your roof vent installation and possibly benefit from savings and support programs.