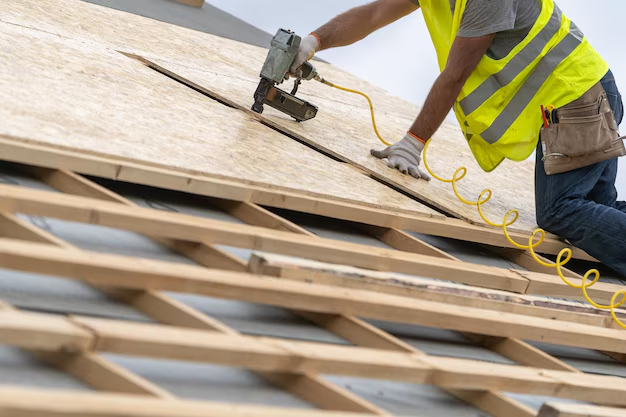
Mastering Roof Installation: What You Need to Know
With homeowners increasingly taking on DIY projects, installing your own roof can be an intimidating yet rewarding task. Not only does it save money, but it also gives you control over every detail of the project. However, before climbing that ladder, let's walk through what installing a roof entails.
Preparation is Key
Assessing the Roof: Start by assessing the current state of your roof. Are there any signs of rot or structural issues? Understanding these details will determine the scope and materials for your project.
Gathering Materials: Once you have a plan, procure the necessary materials, including shingles, underlayment, nails, cement, and flashing. Don't forget essential safety gear such as gloves, helmets, and harnesses.
Choosing the Type of Roof: Asphalt shingles are popular due to their affordability and ease of installation, while metal roofs offer durability. Your choice depends on your budget, climate, and personal preference.
Step-by-Step Installation Guide
Remove the Existing Roof
- Old Shingles: Use a pry bar to remove old shingles. Be meticulous to ensure a clean surface for the new materials.
- Check the Insulation: Inspect insulation and replace as necessary. Ensure the roof deck is sound, patching or replacing plywood as needed.
Install the Underlayment
- Start at the Bottom: Roll out the underlayment from the bottom edge upward, securing it with nails. This provides an essential moisture barrier.
- Overlap: Ensure you overlap each roll to prevent leaks.
Lay and Secure the Shingles
- Starter Shingles: Begin with a row of starter shingles along the edge to prevent leaks.
- Follow the Manufacturer's Guidelines: Place each row methodically, overlapping as instructed. Secure with nails in recommended spots.
- Check Alignment: As you work your way up, continually check the alignment and adjust as needed.
Add Flashing and Ridge Caps
- Flashing: Install around chimneys, vents, and valleys to direct water away and prevent leaks.
- Ridge Caps: Place ridge cap shingles at the top of the roof to seal off the peak.
Clean Up and Final Inspection
- Ground Clean Up: Remove all debris from your yard and inspect the roof for any overlooked details.
- Inspect: A final inspection will ensure that everything is tightly installed and sealed.
Financing Your Roof Installation
Completing a roof installation involves significant cost, often leaving homeowners searching for financial options. If you're contemplating this large expenditure, several programs and options may offer aid:
- 🏠 Government Grants: Programs like the Weatherization Assistance Program can provide funding for home improvements related to energy efficiency.
- 💸 Home Improvement Loans: Many financial institutions offer loans specific to home repairs, often at favorable interest rates.
- 🛠️ DIY Grants: Some regions offer grants or tax credits for using sustainable or energy-efficient materials.
Financial Aid Options
- 🎓 Educational Grants: If studying construction or a related field, some educational grants and scholarships can offset costs of related home improvement projects.
- 📈 Credit Card Solutions: For short-term financing, consider using a low-interest credit card for purchasing materials, but always be cautious of debt accumulation.
- 📢 Debt Relief Advice: Consult debt-relief advisors attending community workshops for guidance on effectively managing home improvement debts.
Approaching a roof installation thoughtfully involves not just the physical work but also ensuring you're financially equipped to handle the project's demands. Whether climbing the ladder yourself or seeking professional help, understanding these options ensures your home remains as economically secure as it is physically secure.

