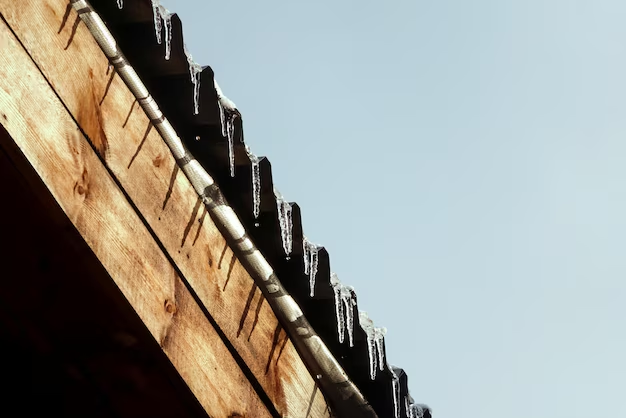
Ready to Upgrade? Installing a Metal Roof Made Easy
When considering a new roof, metal is an increasingly popular option due to its durability, energy efficiency, and stylish appearance. If you’re ready to take on the task of installing a metal roof yourself, here’s a step-by-step guide to ensure you get the job done right.
1. Preparing for Installation
Before diving into the installation process, preparation is key. Take time to gather all necessary materials and tools. You will need:
- Metal roofing panels
- Fasteners
- Underlayment
- Roofing felt or synthetic sheeting
- Safety equipment (gloves, goggles)
Measure your roof to determine how much material you’ll need. Then, remove any old roofing materials to ensure a clean surface.
2. Installing the Underlayment
Begin by installing the underlayment. This layer provides extra waterproofing and an additional barrier against the elements.
- Unroll the underlayment starting from the roof edge.
- Align it straight, and fasten it with nails or staples every few feet.
- Overlap each successive row by a few inches to ensure complete coverage.
3. Laying Out the Panels
Now you're ready to lay your metal roofing panels. Plan your layout to minimize waste and ensure each panel is correctly aligned.
- Start at one edge of the roof and work towards the other.
- Install panels with a minimum overlap of one inch per side.
- Secure panels using the designated fasteners in pre-drilled holes.
4. Securing the Panels
After laying out the panels, it’s time to fully secure them.
- Use a screw gun to affix each panel, ensuring the screws are flush but not overly tight to prevent damage.
- At overlapping sections, fasten both panels together with the screws for strength.
5. Adding Flashing
Flashing is installed around roof features like chimneys and vents to prevent leaks.
- Cut flashing to size and bend it to fit snugly around each feature.
- Seal it with roofing tape or sealant for added protection.
6. Completing the Edges
Once all panels are in place, secure the roof’s perimeter with ridge caps or edge flashing.
- This ensures a sleek final look and protects against weather damage.
- Fasten the ridge cap over joints where two panels meet, aligning screws with existing seams.
Exploring Financial Support Options
While installing a metal roof can be a rewarding DIY project, it's also a significant investment. Fortunately, there are financial support options available that may help offset these costs.
- Government Grants and Rebates: Explore federal or state-level programs offering rebates or tax incentives for energy-efficient home improvements. Metal roofing often qualifies for these perks.
- Home Improvement Loans: Consider low-interest loans specifically designed for energy-efficient upgrades.
- Credit Options: Look into credit card solutions with 0% introductory APR on purchases to finance your project interest-free over time.
For those with more ambitious projects or looking to expand their skills further:
- Educational Grants: Investigate opportunities such as community workshops or courses on home improvement to increase your DIY knowledge base.
With these considerations, you’ll not only improve your home but also make wise financial choices that ease the process.
Financial and Educational Resources to Explore:
- 🏡 Energy Efficiency Rebates: Check local utility providers for incentives on metal roofing.
- 💵 Low-Interest Loans: Banks and credit unions often offer special-rate loans for home improvements.
- 📈 0% APR Credit Cards: Select cards offer interest-free periods on large purchases.
- 🎓 DIY Workshops: Community colleges or hardware stores frequently hold home improvement classes.
Taking these steps will not only ensure a successful roof installation but also enhance your financial literacy and planning for future home projects.

