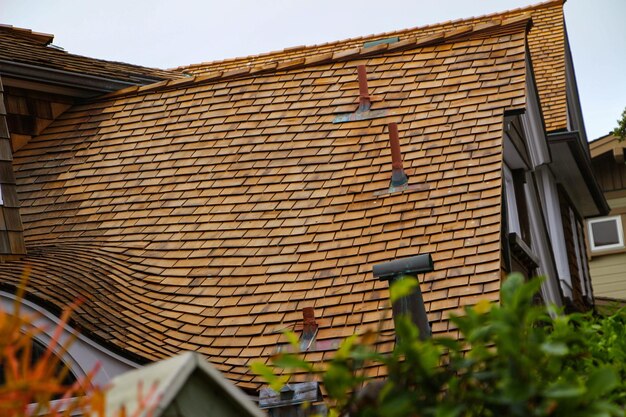
Want to Install Shingles on Your Roof? Here’s How
Installing roof shingles can be a gratifying DIY project, allowing you to save money while renewing your home's exterior. However, to do it safely and effectively, it’s crucial to understand the process and necessary precautions. Let’s break down the steps needed for successfully shingling a roof.
Gather Your Materials
Before getting started, ensure you have all the required materials and tools:
- Roofing shingles
- Underlayment
- Roofing nails
- Hammer or nail gun
- Ladder
- Safety harness
- Chalk line
- Utility knife
- Roofing cement
- Pry bar
Safety First
Roofing can be dangerous. Make sure to use a robust ladder and wear a safety harness to prevent falls. Always work with a partner who can assist or call emergency services if needed.
Remove Old Shingles
Before installing new shingles, remove old ones. Use a pry bar to lift shingles and remove roofing nails. This step ensures your new shingles lay flat and secure, preventing leaks.
Install Underlayment
Roll out the underlayment across the clean roof decking for an added layer of moisture protection. Begin at the bottom edge, overlapping sections by about six inches. Nail it down with roofing nails.
Lay Down the Starter Strip
A starter strip is essential for beginning shingle application. This strip ensures the first row of shingles will stick tightly. Cut shingles into strips and secure these along the roof edge using roofing nails and cement.
Begin Shingling
With your starter strip in place, it's time to install the shingles. Start at the bottom corner of the roof:
- Align the first shingle directly above the starter strip.
- Nail the shingle, leaving nails about one inch from the edge.
- Continue across, cutting shingles as needed to ensure a fit along edges.
Overlapping is key; each subsequent row should cover the nails of the row before, ensuring no nails are exposed.
Work Towards the Roof Center
Once you have reached the roof's edge, move upwards by starting the next row, staggering the seams. Use a chalk line to keep shingles aligned, as this ensures a uniform pattern and secure fit.
Cap the Ridge
Once the field of the roof is complete, the next step is to install ridge shingles along the top. These are essential for protecting the roof's peak from water intrusion and should be installed perpendicular to the direction of the regular shingles. For the finishing touch, use roofing cement and nails for a secure fit.
Check for Issues
After installation, inspect your work. Ensure no nails remain exposed, and all shingles are secure. This is your chance to address any areas that might need additional securing.
Roofing can be a cost-effective option, but it requires both time and dedication. Yet, the effort can benefit you economically, especially when coupled with smart financial planning and assistance opportunities.
Financial Programs to Consider
As home upkeep costs rise, exploring financial options can make a considerable difference:
- 🏡 Federal Housing Programs: Offers loans and grants for home improvement.
- 🔧 Home Repair Assistance: Provides funds for essential home repairs, often available at the state level.
- 💸 Credit Card Solutions: Look for low-interest cards for financing home projects.
- 🎓 Educational Grants: Perfect if looking to enhance DIY skills with certified courses.
- 🤝 Community Programs: Local non-profits often help with home repair services.
Exploring these avenues can help cushion the financial load of home repairs, ensuring your roof and pocket are equally well-cared for.

