Mastering the Art of Cutting Roof Shingles: What You Need to Know
Embarking on a roofing project? Whether you're repairing a few damaged shingles or installing a new roof entirely, knowing how to cut roof shingles efficiently is crucial. Not only does precision in cutting ensure a professional appearance, but it also contributes to the durability and weatherproofing of your roof. Here’s a comprehensive guide to help you cut roof shingles like a pro.
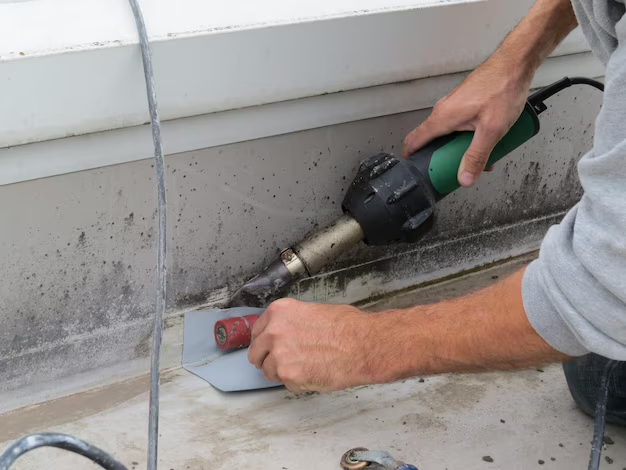
Essential Tools for Cutting Roof Shingles
Before you start, gather the tools you need to make the job easier and safer:
- Utility knife: Perfect for roof shingle cutting, especially when used with a sharp blade.
- Straight edge or T-square: Helps guide your cuts to ensure they're straight.
- Chalk line: Ideal for marking guidelines on the shingles.
- Tape measure: Ensures your cuts are measured accurately.
- Safety gear: Gloves, safety glasses, and knee pads to protect yourself.
Step-by-Step Guide to Cutting Roof Shingles
1. Measure and Mark
Accurate measurement is key for a flawless finish. Use your tape measure to determine the length of the shingle you need. With a chalk line, mark the section of the shingle that requires cutting. This provides a clear line to follow, reducing mistakes.
2. Position the Shingle
Lay the shingle on a flat and sturdy surface. If possible, use a cutting board or sacrificial surface to avoid damaging your work table. Align the marked line with the edge of your surface to help guide the cut.
3. Cutting the Shingle
Using your utility knife, score along the marked line with gentle pressure. Repeat this motion until you’ve cut through the shingle. For thicker shingles, you might find it easier to bend the shingle slightly after scoring, which allows the cut to break cleanly.
4. Corner and Edge Cuts
If you’re cutting corners or angle details, position a straight edge along the desired cut lines and follow the same scoring method. For intricate designs, patience and repetition are key.
5. Installation
Once the shingles are cut to size, they’re ready for installation. Be sure to follow proper overlap and sealing techniques to maximize durability and performance.
Exploring Financial Resources for Your Roofing Project
Now that you're well-equipped to cut roof shingles, the next step might be considering the costs of a roofing project or repair. Luckily, there are financial assistance options available that could ease your financial burden:
- Home Repair Loans & Grants: Programs offered by both government and private entities can provide financial support for roofing projects.
- Energy Efficiency Rebates: If your new roofing contributes to energy efficiency, you could be eligible for rebates or tax credits.
- Personal Loans: Consider exploring flexible financing options with various interest rates.
- Credit Card Solutions: Balance transfers or low-interest promotional offers might help manage upfront costs.
- Local Community Resources: Non-profit organizations sometimes offer grants or low-interest loans for essential home repairs.
Taking a proactive approach to both the practical and financial aspects of your roofing project ensures success from start to finish. With the right tools and information, you're not only ready to tackle cutting roof shingles but also saving money on your roof installation journey. Here’s a handy list to guide your financial planning:
🏦 Financial Resources for Roofing Projects
🏠 Home Repair Loans & Grants
Check with local government units or community centers for available programs.💡 Energy Efficiency Rebates
Research available rebates for energy-efficient home upgrades.💳 Credit Card Promotions
Look for cards with 0% APR for initial months.🤝 Local Community Resources
Partner with non-profits for potential funding opportunities.📊 Personal Loans
Consider competitive interest rates for flexible repayment terms.
By combining solid DIY skills with smart financial planning, you’re preparing for a successful roofing project that’s as cost-effective as it is durable. Happy roofing!