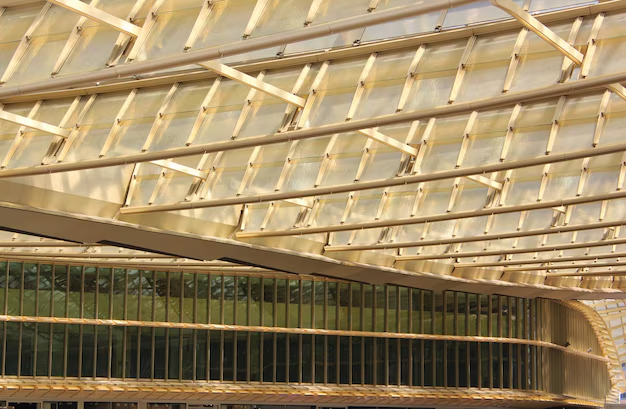
Building the Perfect Shed Roof: Steps for Success
In the ever-evolving world of DIY, constructing a shed roof may seem daunting, but it's a fulfilling project that can add both functionality and aesthetic appeal to your backyard. Whether you're building a new shed or replacing an old roof, this guide provides clear and practical advice to transform you from a novice into a confident builder.
Tools and Materials You'll Need
Before diving into the construction process, ensure you have all the necessary materials and tools. Key materials include roofing felt, shingles or metal roofing, plywood sheathing, nails, and a sturdy ladder. Essential tools consist of a hammer, measuring tape, square, saw, and safety gloves. Having these at hand will ensure a smooth and uninterrupted building process.
Step-by-Step Guide to Building a Shed Roof
Design and Planning
- Decide on Roof Style: Common styles include the gable, gambrel, and lean-to. Each has its own aesthetic and functional benefits, so choose based on your specific needs and climate considerations.
- Measure Precisely: Accurate measurements are crucial. Measure the width and length of the shed accurately to determine the amount of material you'll need.
Frame Construction
- Cut the Rafters: Use your measurements to cut rafters that suit your chosen roof style. Ensure each piece is identical to maintain uniformity.
- Assemble the Frame: Once cut, assemble the rafters atop your shed structure using strong nails. Check alignments frequently to maintain integrity.
Sheathing and Waterproofing
- Install the Sheathing: Lay plywood sheets across the rafters, nailing them securely into place. Sheathing acts as the foundation of your roof, so ensure it's robust.
- Apply Roofing Felt: This waterproof layer protects the sheathing from moisture. Start from the bottom, working your way up to ensure overlap and ample coverage.
Roofing Material Placement
- Lay the Shingles or Metal Sheets: Starting from the bottom edge, begin laying your choice of top material—shingles or metal sheets. Nail them securely and progress upwards, ensuring consistent overlapping.
- Seal the Edges: Use a roof sealant to secure edges against wind and water infiltration.
Final Touches
- Check Stability: Walk lightly over the roof, checking for any loose areas.
- Clean Up: Remove any remaining materials and tools, ensuring a neat completion to your project.
Beyond the Shed: Investing in Your Backyard
While building the perfect shed roof can enhance your property, it’s also wise to consider financial tools and resources that might further boost your investment in outdoor home improvement. Navigating financial assistance and educational opportunities can help you expand your DIY projects safely.
Explore Programs and Opportunities 👇
- 💰 Government Aid Programs: Some local governments offer grants for home improvement projects focused on sustainability and energy efficiency.
- 💳 Credit Card Solutions: Consider credit cards with rewards or cashback for home improvement purchases to save on building materials.
- 📚 Educational Grants: For those interested in expanding DIY skills, look for workshops or community college courses offering grants or discounts.
- 🛠 Debt Relief Options: If existing debt affects your home improvement budget, consult available debt consolidation options to manage costs effectively.
Taking advantage of these options can pave the way for not just improving your roof, but pioneering an entire backyard transformation. Embrace your DIY spirit with confidence and a strategic financial plan for unmatched success.

