Crafting Your Own Roof Truss: A Step-by-Step Guide
Building a roof truss might seem daunting, but with the right tools and instructions, it's entirely achievable even for a determined DIY enthusiast. Roof trusses are essential components that support the roofing structure, distributing weight and providing stability to the entire building. Let’s dive into a straightforward guide to help you construct them efficiently.
Understanding the Basics
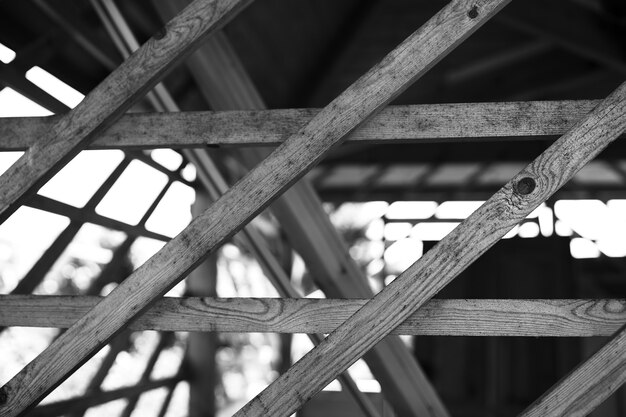
Before getting hands-on, it's crucial to understand what a truss is. A roof truss is a framework consisting of rafters, struts, and posts that support your roof. It’s vital to choose the appropriate type for your specific roof design—common types include king post truss, queen post truss, and more complex variants like scissor trusses for vaulted ceilings.
Gathering Materials and Tools
Ensure you have the right materials:
- Quality lumber, typically 2x4s or 2x6s, depending on your design and load-bearing needs
- Galvanized metal plates or other suitable fastening systems
- Fasteners like screws or nails
Tools you’ll need:
- Power saw
- Hammer or nail gun
- Measuring tape
- Carpenter’s square
- Safety gear: gloves, goggles
Design and Planning
Accurate planning is key. Measure the span of the building to determine the size and number of trusses you’ll need. It's advisable to create a detailed blueprint or consult a structural engineer to ensure safety and compliance with local building codes.
Building the Truss
Step 1: Mark and Cut the Lumber
Using your design, mark where cuts need to be made on each piece of lumber. Ensure precision in your cuts, as this directly impacts the structural integrity of the truss.
Step 2: Assemble the Pieces
Lay out the lumber in the desired truss shape. Use a carpenter's square to verify angles are accurate before proceeding.
Step 3: Fasten the Joints
Securely connect the joints with galvanized metal plates and fasteners. Make sure each joint is tightly fixed to prevent any movement.
Step 4: Check Stability
Once assembled, lift the truss to its upright position and check for stability. Ensure it aligns consistently with your initial plan.
Installation
After building, the trusses need to be installed accurately onto your structure. This step often requires additional hands for safe lifting and securing. Ensure each truss is evenly spaced and adequately supported.
Financial Considerations
Building a roof truss yourself can save a significant amount of money. However, the costs of materials and tools can still be substantial. Here are some suggestions to ease the financial burden:
- Government Aid and Grants: Check for local government programs that might offer financial assistance or grants for home improvement projects.
- Financial Assistance: Many communities offer financial aid through specific housing improvement initiatives.
- Credit Solutions: Consider low-interest credit options for purchasing materials.
- Educational Opportunities: Leverage local workshops or courses that provide hands-on training in construction, often at a lower cost.
🎯 Financial and Educational Resources
- 🏠 Home Improvement Grants: Check with local government offices for available grants.
- 💳 Low-Interest Credit Lines: Explore credit solutions that offer low-interest rates for home improvements.
- 🏫 Construction Workshops: Join community colleges or online platforms offering affordable courses in woodworking and construction.
- 🌐 DIY Forums: Engage with online DIY communities for advice and shared experiences to help with your project.
Completing a roof truss project on your own is not only fulfilling but it also empowers you with skills that transform your living space into something truly personal. Take advantage of available resources and financial options to make your DIY project both successful and financially smart.