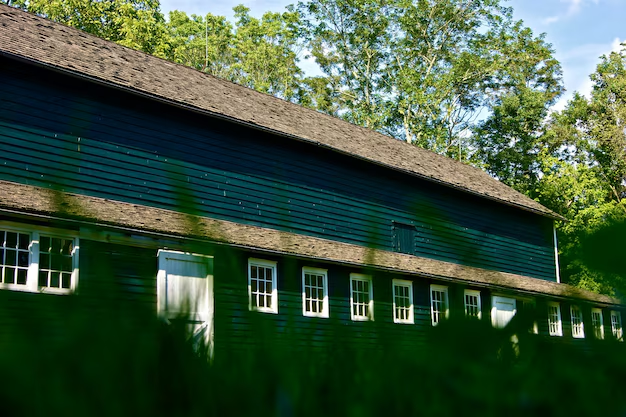
How to Build a Pitched Shed Roof: A Complete Guide
Building a pitched roof for your shed can be a rewarding DIY project, transforming a simple structure into one that exudes both charm and practicality. The angled design not only adds aesthetic appeal but also aids in water drainage, preventing leaks and enhancing the shed's longevity. Here's a streamlined guide to walk you through the entire process—from planning to execution.
Planning Your Shed Roof
Before jumping in, careful planning is essential. Assess these critical factors:
- Materials: Decide on the type of materials you’ll use for both framing and roofing. Common choices include wood, metal, and preformed shingles.
- Roof Pitch: Determine the angle of your roof. A standard pitch for sheds ranges from 4/12 to 7/12. The steeper the pitch, the better for rain and snow runoff.
- Local Building Codes: Check if there are building regulations or zoning laws you need to comply with. This step is crucial to avoid any legal hassles later on.
Step-by-Step Construction
1. Gather Your Tools and Materials
Ensure you have all essential tools: a hammer, saw, measuring tape, square, level, ladder, and safety gear. Materials will include roofing trusses, plywood, underlayment, shingles, nails, and any required hardware.
2. Frame the Roof
- Install Wall Plates: Secure wall plates to the top of the shed walls. They will serve as the base for your roof trusses.
- Construct Trusses: Trusses are triangular structures made up of rafters and a horizontal beam. Use a saw to cut rafters precisely, ensuring they are symmetrical for a balanced roof.
- Position Trusses: Place the trusses atop the wall plates at equal intervals (typically 24 inches apart), ensuring they’re level and aligned.
3. Sheathe the Roof
With your trusses securely in place, it’s time to add the roof sheathing:
- Attach Plywood: Starting at one corner, lay plywood sheets across the trusses. Use nails to secure each sheet in place, ensuring joints are flush and aligned.
4. Apply Underlayment
- Roll Out Underlayment: Starting from the bottom edge, roll out roofing underlayment. This layer provides an extra barrier against moisture. Secure it using roofing nails.
5. Install Shingles or Metal
- Lay Shingles: Beginning at the lower edge, lay your roofing material. Follow a staggered pattern, hammering nails along the edges to secure each row.
- Install Flashing: Finish with metal flashing around roof joints or intersections to prevent water ingress.
Consider Financial and Educational Assistance
Venturing into projects like shed roof construction can spark interest in broader educational pursuits or financial management skills. Whether you're financing the project out of pocket or seeking additional support, there are numerous resources available:
- Educational Grants: Explore opportunities for learning more about construction, architecture, or carpentry through community college programs or online courses.
- Government Aid Programs: Some local governments offer grants or low-interest loans for home improvement projects. It’s worth investigating if your shed project qualifies.
- Credit Solutions: If you're expanding your construction skills into a professional arena, consider small business credit solutions to fund tools, materials, or educational undertakings.
Your Resource List
💡 Resources to Consider:
- 🎓 Educational Grants: Check for scholarships aimed at skilled trades.
- 🏠 Home Improvement Loans: Government-sponsored loans or grants that assist with roofing projects.
- 💳 Credit Card Reward Programs: Use cashback options for purchases on building materials.
- 📘 Online Courses: Platforms offering tutorials on advanced roofing and construction techniques.
By following this guide, you'll not only achieve a functional and stylish shed roof but also open the door to numerous opportunities for further financial support and educational development.

