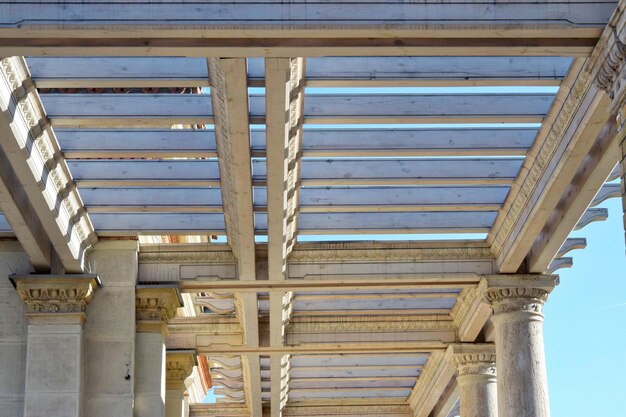
Transform Your Outdoors: Building Your Own Pergola Roof
There’s something truly magical about transforming your outdoor space into a cozy, inviting sanctuary where family and friends can gather. Adding a pergola roof is an excellent way to achieve that, offering both aesthetic appeal and functional benefits. Whether you're a DIY enthusiast or a first-timer, here's a straightforward guide to crafting your own pergola roof.
Why Build a Pergola Roof?
Before diving into the building process, it's worth understanding why a pergola roof might be the perfect addition to your home. Apart from providing shade and protection from the elements, pergolas can enhance your yard's visual appeal and even increase your property's market value. With a variety of styles and materials available, you can customize a pergola to suit your taste and needs.
Selecting Materials and Design
Choosing the Right Material: The materials you select will greatly impact the durability and style of your pergola. Common materials include:
- Wood: Offers a traditional and natural look.
- Vinyl: Requires less maintenance and is weather-resistant.
- Metal: Provides a modern aesthetic and superior strength.
Design Considerations: Consider the architectural style of your home and existing landscaping. A seamless connection between your pergola and house enhances the overall design and aids functionality. You’ll also need to choose between an open or closed roof. An open design with lattice or beams can offer partial shade, while a closed roof provides full protection against weather.
Step-by-Step Building Process
1. Gather Necessary Permits
Before construction, always check with local authorities for any zoning restrictions or permits required for building a pergola.
2. Prepare Your Tools and Materials
Ensure you have all the necessary tools and materials on hand:
- Tools: Saw, drill, level, tape measure, ladders.
- Materials: Posts, beams, roofing material (e.g., polycarbonate panels or canvas), screws, brackets.
3. Choose the Location
Select a location that does not interfere with underground utilities, has adequate space, and complements your home's layout.
4. Install the Posts
Measure and mark the location for the support posts. Dig holes and set the posts in concrete, ensuring they are perfectly aligned and level. Allow the concrete to cure fully before proceeding.
5. Attach the Beams
Once the posts are secure, attach the crossbeams. Accurate measuring and leveling are crucial here to ensure stability and balance.
6. Install the Roof
Depending on your design, affix the roofing material. For an open design, attach the beams or lattice to cross the structure. For a closed design, secure panels or fabric tightly across the frame. Ensure everything is firmly in place to withstand wind and weather.
7. Finishing Touches
Paint or stain your pergola to match your home's exterior or landscape. Add climbing plants or outdoor lighting to enhance the ambiance.
Elevate Your Home, Expand Your Opportunities
Building a pergola roof can be an investment not just in enhancing your living space but in potentially increasing your home’s value. If you're concerned about financing such a project, explore options that could help manage costs.
Financial Assistance and Opportunities 🌿
- 🏡 Home Improvement Loans: Consider low-interest loans specifically for home renovations.
- 📈 Government Grants: Some local programs offer grants for landscaping and eco-friendly projects.
- 🏦 Credit Card Solutions: Select credit cards offer cashback or rewards for home improvement purchases.
- 📚 Educational Grants & Courses: Take advantage of courses in carpentry or DIY skills at local community colleges or workshops, sometimes available at no cost.
By taking advantage of financial aid programs and educational resources, you can ensure that your pergola project is not just a dream but a well-supported reality. So, roll up your sleeves, plan carefully, and soon enough, your outdoor space will be the talk of the neighborhood!

