Transform Your Outdoor Space: Building a Patio Roof
Creating an inviting outdoor space can greatly enhance your home’s aesthetic and functionality. Building a patio roof is a rewarding project that protects you from the elements, allowing you to enjoy your patio year-round. Here’s a step-by-step guide to help you start building your dream patio roof.
1. Planning and Design
Before lifting a hammer, consider the style and purpose of your patio roof. Do you want a solid cover for full protection, or a pergola-style roof that lets in sunlight? Think about materials: wood offers a classic look, while aluminum and steel provide durability with minimal maintenance needs. Importantly, check local building codes to ensure your plans are compliant.
2. Gathering Materials and Tools
After deciding on your design, gather the necessary materials and tools. Common materials include:
- Lumber or metal for the frame
- Roofing material, like shingles or panels
- Fasteners (nails, screws)
- Concrete for posts
Essential tools for this project include:
- Power drill
- Saw
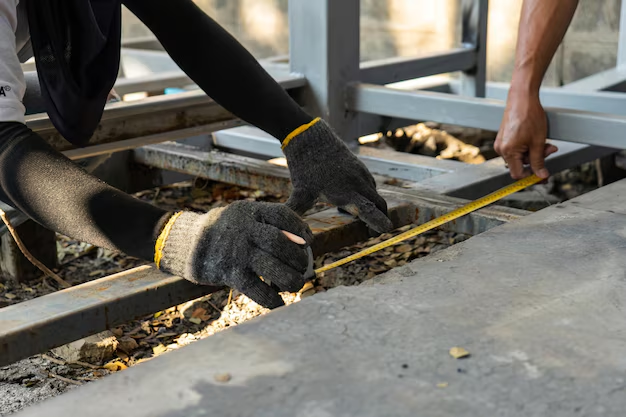
- Measuring tape
- Hammer and other hand tools
3. Preparing the Site
Prepare the area by cleaning the space and marking where posts will go. Use a level to ensure even ground, which is crucial for structural stability. Setting your foundation properly with concrete footings helps keep the posts secure against wind or shifting soil.
4. Building the Frame
Begin by installing the posts. Secure them firmly in the footings and use a level to ensure they’re upright. Next, attach ledger boards to your home for additional support if your patio roof is adjacent to the building. Connect these ledger boards to the posts with rafters, creating a strong frame that supports your roofing material.
5. Installing the Roofing Material
With the framework completed, install your selected roofing material. If using shingles, start from the bottom and overlap them going up. For metal panels, align them carefully and secure them tightly to withstand weather conditions. Ensure a slight pitch in the roof to allow for water drainage.
6. Finishing Touches
Finally, add any additional features that suit your needs, such as gutters, decorative trims, or lighting. Waterproofing the roof with sealants or coatings extends the life of your construction and safeguards against leaks.
Navigating Financial Assistance for Your Project
Building a patio roof yourself is cost-effective, but can still burden your budget. Consider these financial support options to ease your expenses:
- Home Improvement Grants: 🏡 Available through local government programs, these can offer funds for outdoor enhancements.
- Zero or Low-Interest Loans: 📈 Many banks offer these specifically for home renovation projects.
- Energy Efficiency Incentives: 🌞 Installing energy-efficient materials may qualify you for rebates or tax incentives.
- Credit Card Solutions: 💳 For tight budgets, leveraging a card with a 0% introductory APR can spread out payments without additional interest.
Exploring these options provides access to the necessary resources, making it easier to manage the costs associated with building your patio roof. Paying attention to financing can reduce stress, allowing you to focus on enjoying your new outdoor haven.

