Master the Art of Building a Gable Roof: Essential Tips and Tricks
Building a gable roof is a rewarding project that can enhance the aesthetic and functional value of your home. Known for its peaked appearance, the charming and efficient gable roof is a popular choice among homeowners looking to maximize ventilation and shed water or snow efficiently. If you're ready to embark on this exciting venture, read on for a step-by-step guide to help you build a gable roof confidently.
Understanding the Basics of a Gable Roof
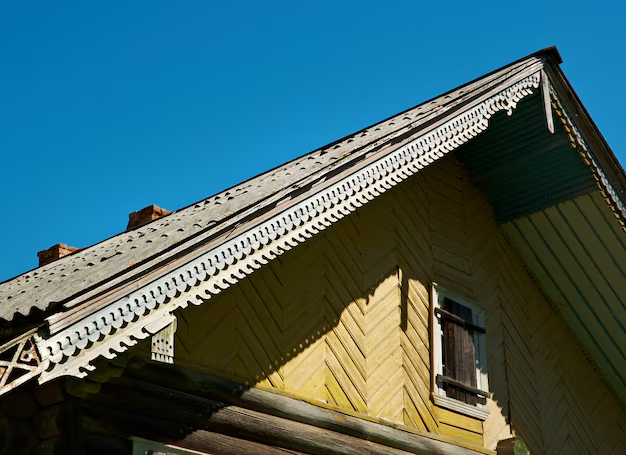
What is a Gable Roof? A gable roof is identified by two sloping sides that meet at the ridge, forming a triangle. Its versatility and simplicity make it a staple in residential architecture.
Why Choose a Gable Roof?
- Ventilation: The steep pitch allows for superb airflow, making it an excellent choice for attic spaces.
- Weather Resistance: Adept at shedding water and snow, keeping your home dry.
- Aesthetics: Offers a classic look that complements various architectural styles.
Steps to Build a Gable Roof
Step 1: Plan and Design
Measure and Sketch: Determine your desired roof dimensions and create a detailed sketch. Consider the pitch, the span, and the required materials. This step is crucial for a smooth construction process.
Step 2: Gather Materials
You'll need:
- Lumber: Typically, 2x4s or 2x6s for rafters.
- Plywood or OSB Sheets: For the roof decking.
- Roofing Material: Shingles, tiles, or metal panels.
- Tools: Hammer, saw, measuring tape, level, and roofing nails.
Step 3: Construct the Frame
Install Ridge Board: This is the topmost horizontal board that supports the rafters. Make sure it's perfectly level.
Attach Rafters: Cut rafters to the specified length and angle. Nail them to the ridge board and the outer walls, ensuring evenly spaced positioning.
Step 4: Add the Roof Decking
Lay plywood or OSB sheets over the rafters from bottom to top, securing them with nails. Ensure the seams in the decking are staggered for increased strength.
Step 5: Install Roofing Material
Start from the bottom edge and work your way up, securing shingles or other roofing materials in place. Follow the manufacturer's instructions for optimal results.
Step 6: Add Finishing Touches
Complete the project by adding waterproofing and sealants along the roof’s edges. Flashing should be installed around chimneys and other protrusions to prevent leaks.
Transitioning to Financial Considerations
Building a gable roof can be an investment, one that may come with financial challenges. Fortunately, there are several financial resources available to assist homeowners with home improvement projects:
- Government Aid Programs: Look for local and federal initiatives that offer grants or low-interest loans for home improvement projects.
- Energy Efficiency Incentives: Many governments provide rebates for roofing projects that improve energy efficiency.
- Home Equity Loans: Consider tapping into your home’s equity for financing larger projects.
- Credit Card Offers: Take advantage of introductory offers or low-interest credit cards designed for home improvements.
Explore Financial Opportunities for Your Project
💡 Government Grants: Often available to fund part of your roofing project.
💳 Home Improvement Loans: Tailored loans that can be more favorable than regular credit.
🏠 Property Tax Credits: For eco-friendly or energy-efficient projects.
📈 Equity-based Financing: Secure funding based on your home's current equity.
🎓 Educational Courses: For DIY enthusiasts, consider skill-building workshops or online courses in construction and home improvement.
By thoughtfully planning your gable roof project and leveraging available financial resources, you can efficiently manage the costs while ensuring your home reaps the rewards of this classic architectural feature.