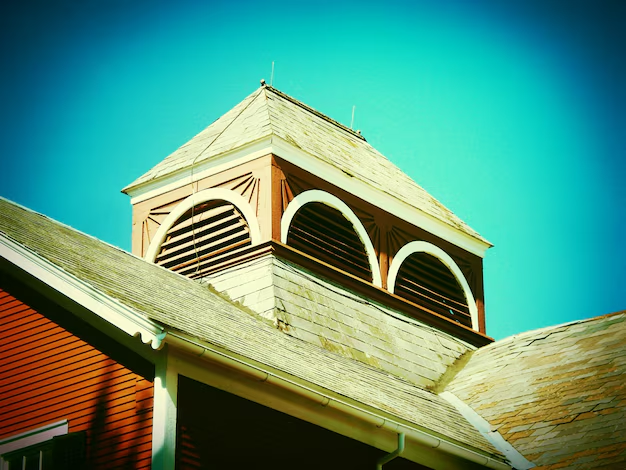
Transform Your Home: A Step-by-Step Guide to Building a Front Porch Roof
Building a front porch roof can not only enhance your home's curb appeal but also provide a cozy space for relaxation and gatherings. If you're considering taking on this project, it’s essential to plan thoroughly and use the right materials to ensure durability and safety. Here’s a straightforward guide to help you successfully build a front porch roof.
Planning Your Front Porch Roof
Before grabbing your tools, spend some time planning the design and structural layout:
Determine the Style and Size: Consider the architectural design of your home. A well-matched style will maintain the aesthetic appeal. The roof size depends on your porch dimensions and how much coverage you desire.
Check Local Building Codes: Ensure your design complies with local building regulations to avoid fines. You might need a permit depending on the size and complexity of the project.
Materials and Tools: You’ll need wood for the frame, shingles or metal for the roofing, nails, screws, and brackets. Make sure to have essential tools like a saw, hammer, drill, and measuring tape on hand.
Building the Framework
The framework is the backbone of your porch roof, so precision is key:
Posts and Beam Placement: Use sturdy posts to support the beam that will run horizontally along the front of your porch. Use a level to ensure the accuracy of your placement.
Rafters Installation: Cut rafters to span from the beam to the house and securely attach them using brackets and nails. Make sure they’re evenly spaced for optimal support.
Attaching the Roofing
With the framework ready, you can proceed to attach the roofing materials:
Apply Sheathing: Secure plywood sheathing over the rafters to form a solid base for your roofing material.
Install Roofing Material: Whether you choose shingles, metal, or another material, ensure they are correctly overlaid to prevent water ingress. Follow the manufacturer's guidelines to secure them properly.
Seal the Edges: Use flashing to cover any gaps and seams at the edges, ensuring weatherproofing.
Adding the Finishing Touches
Once the roof is complete, consider these additions:
- Guttering: Install gutters to manage water runoff and protect your new porch.
- Lighting: Adding lights can improve safety and enhance ambiance, ideal for evening use.
- Paint or Stain: Choose treatments that withstand weather conditions to maintain the look and longevity of your porch roof.
Beyond Building: Financial and Educational Support
Completing a project like this can be an enriching experience, but if you find yourself in need of financial assistance or increased knowledge, here are some resources:
- Government Grants: Some programs offer funding for home improvement projects.
- Tax Credits: Inquire about tax relief options for energy-efficient installations if applicable.
- Educational Workshops: Many communities offer workshops on DIY home projects, which can provide valuable insights and skills.
Explore These Resources:
- 💰 Home Improvement Grants: Check with local agencies for available funding.
- 🏡 Energy Efficiency Tax Credits: Investigate potential savings on eco-friendly materials.
- 📚 DIY Workshops: Attend local or online workshops to expand your know-how.
- 🛠 Tool Loan Programs: Some community centers offer tool lending libraries for home projects.
Building a front porch roof is a task that requires careful planning, skilled execution, and perhaps some extra resources. While rewarding, don’t forget to reach out for assistance if needed. This project not only beautifies your home but also adds a personal touch and a new space for living your best life.