Mastering Roof Shingles: A Step-by-Step Guide to a Durable Roof
Applying roof shingles might seem daunting at first, but with a little guidance, patience, and elbow grease, you can have a durable barrier against the elements protecting your home. Whether you're building a new roof or replacing old shingles, it's crucial to install them correctly to maximize their lifespan and efficiency. Follow these steps to ensure you get it right.
Gathering Your Tools and Materials
Before you climb up the ladder, make sure you have:
- Safety gear: hard hats, gloves, safety glasses, and non-slip shoes.
- Roofing nails.
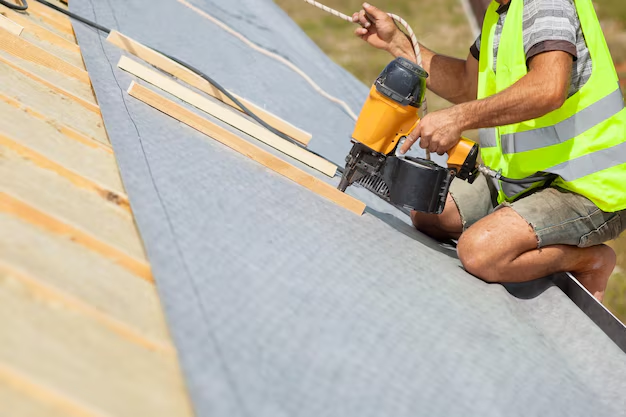
- A hammer or a pneumatic nail gun.
- Shingles.
- A ladder and roof harness for fall protection.
- A utility knife.
- A chalk line.
- An ice and water shield.
- A tape measure.
Prepping the Roof
First, inspect and clean your roof. Any pre-existing shingles, nails, and debris should be removed. Ensure the roof deck is dry and in good condition. If necessary, repair any damage to the wood before proceeding.
Applying the Underlayment
Lay down an ice and water shield at the eaves. This vital step prevents water damage due to ice damming and rain. Start by cutting the shield to fit, and roll it out flat, pressing it onto the roof deck.
Follow with roofing felt paper. Starting from the bottom edge, align the felt and staple or nail it every few feet to keep it secure. Overlap each row by about 6 inches as you work your way up.
Placing the Starter Shingles
Starter shingles create a waterproof seal at the edge of the roof. Install them along the eave, making sure they overhang by about ¼ inch. Ensure each piece is fastened firmly with roofing nails to prevent shifting.
Installing the Shingles
First Row: Begin with the first full shingle at the edge of the eave. Align it carefully before nailing it approximately 6 inches above the cutout tabs. Each shingle should have four nails spaced evenly.
Progressing Upward: Continue to lay the shingles row by row, ensuring that you stagger the joints like brickwork. This method prevents water infiltration and enhances the overall strength of the roof.
Valleys and Peaks: When you reach corners or where shingles meet at an angle, cut them to fit precisely. Make sure valleys have a double layer of shingles and add extra sealant if needed.
Capping the Ridge
Once you reach the roof's peak, install the ridge cap shingles. These are cut from regular three-tab shingles or obtained as pre-cut caps. Fold them over the ridge, with a slight overlap on each side, and nail them down securely.
Final Inspection
After covering the roof, do a thorough inspection. Look for and resolve any loose shingles or exposed nails. Regular maintenance, combined with proper installation, ensures a long-lasting roof.
Beyond Shingles: Financial Assistance Opportunities
While home improvements like roofing can be costly, there are several financial tools available to help ease the burden. Consider exploring options that might align with your needs:
🏠 Home Improvement Grants: Available through government and local agencies for qualifying homeowners.
💳 Low-Interest Credit Cards: Some cards offer attractive rates and introductory offers for home improvement expenses.
🏦 Personal Loans: Secured or unsecured loans can provide quick access to funds without equity stakes.
📚 Educational Courses: Learning more about DIY projects through online courses or workshops can reduce labor costs in the future.
Whether embarking on this home improvement journey or seeking ways to finance it, being informed and prepared empowers you to make smart decisions that will benefit your household for years to come.