Want to Install Roof Shingles Efficiently? Here’s How!
Roof shingles not only enhance curb appeal but also protect your home from the elements. Knowing how to install roof shingles can save you a considerable amount of money and give you a sense of accomplishment. Here's a straightforward guide to get you started on this DIY journey while being aware of the safety precautions and potential cost savings.
Tools and Materials You’ll Need
Before diving into the installation process, gather the following tools and materials:
- Roofing nails
- Hammer or nail gun
- Roofing shovel or pry bar
- Utility knife
- Measuring tape
- Chalk line
- Safety harness and equipment
- Ladder
Materials:
- Underlayment
- Roof shingles
- Drip edge
- Flashing
Step-by-Step Installation Guide
1. Clean the Roof Area
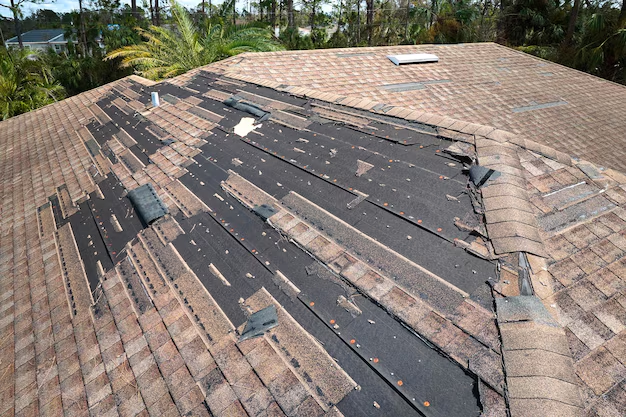
Start by removing any old shingles or debris with a roofing shovel or pry bar. Make sure the roof surface is clean and free from any damages. It's also a great time to inspect for any repairs that might be necessary.
2. Install Drip Edge
Nail the drip edge along the eaves, creating a clean edge for runoff and protecting the underlying wood.
3. Lay Underlayment
Roll out the roofing underlayment over the entire roof surface. Begin at the bottom and work your way up, securing it with appropriate fasteners. This layer is crucial for additional insulation and leak protection.
4. Chalk Line for Guide
Mark horizontal lines every five inches or as specified by the shingle manufacturer. This ensures your rows remain straight and even.
5. Start Shingling
Place your first shingle on the bottom corner of the roof. Ensure it hangs over the edge slightly, and nail it in place using four to six nails per shingle, depending on local building codes.
6. Work Your Way Up
Overlap the next row over the seam of the shingles below, creating a waterproof layer. Continue this pattern across the roof.
7. Proper Nailing Technique
Each shingle should be nailed directly on the nailing strip, ensuring the nails do not show from below the shingle above. Proper nailing is critical to withstand high winds.
8. Ridge Cap Shingles
Once all the field shingles are in place, finish with the ridge cap shingles to cover the roof’s peak, providing a thorough seal.
9. Inspect Your Work
Walk around (or have a professional) to inspect for any missed nail spots or flawed shingles. Maintenance ensures durability and longevity.
Considering Costs and Assistance
Installing shingles on your own can be economically beneficial, but what if you face unexpected expenses? Let's explore some assistance options:
Financial Assistance & Resources:
- 🏠 Home Repair Assistance Programs: Some local governments offer grants or low-interest loans to help with home improvements.
- 💰 DIY Project Loans: Banks or credit unions might have loans specifically designed for home renovation.
- 👷 Community Development Programs: Engage in community programs that might offer volunteer work or costs sharing for neighborhood improvements.
Educational and Informational Tools:
- 📚 Home Improvement Workshops: Check out local or online workshops. Many offer free sessions to enhance your DIY skills.
- 🎓 Online Educational Courses: Websites offering step-by-step guides and fostering basic skills necessary for home renovations can be greatly helpful.
Whether you're a seasoned DIYer or a beginner, installing roof shingles is within reach. With the right tools, guidance, and a bit of effort, you can transform your roofing woes into a durable and aesthetic masterpiece. Plus, don’t shy away from using available resources for financial or educational support to make the most out of your home improvement journey!