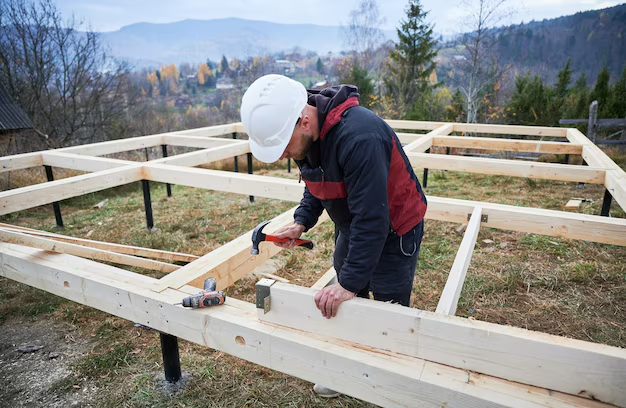
Building a Shed Roof: Simple Steps to Keep You Covered
Building a shed roof is a practical DIY project that not only encourages creative skills but also enhances your property's utility. Whether you're storing tools or creating extra workspace, a well-built shed is essential. Here's a straightforward guide to constructing a shed roof that stands the test of time.
Gathering Your Tools and Materials
Start with the essentials: Depending on your design, you'll need materials such as plywood sheets, roofing shingles, metal sheets, or tiles. Ensure you have nails, a hammer, a measuring tape, a saw, and a spirit level for structural accuracy.
Select your roofing style: There are a variety of styles to choose from—including gable, flat, and gambrel roofs—which will influence your materials and construction approach.
Planning Your Roof Design
Measure Twice, Cut Once: Accurate measurements are crucial. Determine the pitch (slope) of your roof and plan for weather elements like snow and rain. A steeper pitch facilitates better drainage.
Blueprint your design: Draw a diagram specific to your intended use and dimensions, ensuring you understand every angle and cut required.
Building the Framework
Construct the trusses or rafters: Using your measurements, cut your wood to create the frame that will support your roof. Assemble each truss or rafter on even ground before hoisting and securing them in place.
Secure your supports: Attach the trusses to the top of the shed walls using heavy-duty brackets or hurricane ties to ensure stability.
Adding the Roofing Material
Lay the sheathing: Cut plywood sheets to fit the roof framework and nail them securely. This forms the base on which the roofing material will be laid.
Apply the underlayment: Roll out roofing felt paper or similar underlayment over your sheathing; this waterproof layer is essential in prolonging the roof's life.
Install the roofing material: Whether you're choosing shingles, metal sheets, or tiles, ensure you follow the manufacturer's instructions for the best results. Secure each piece from the bottom to the top for optimal water runoff.
Finish with ridge caps: Protect the topmost point of your roof by installing ridge caps for a polished look with added protection against the elements.
Your Shed Roof is Complete! What's Next?
Now that your shed roof is up and running, you might find your mind wandering to the next big project or wondering how to finance more home improvements. Fortunately, there are myriad resources available to help support your ambitions, from financial aid programs to educational grants. Diving into these areas might just offer more solutions to enhance your home improvement journey.
Explore Financial Assistance Options Below:
- 🏠 Government Housing Grants: Discover funds available for improving property and sustainability.
- 💳 Credit Card Solutions: Look into zero-interest introductory offers to fund your building projects smartly.
- 🎓 Educational Grants: Consider courses in construction or architecture—many grants are available for career-advancing adult education.
- 📉 Debt Relief Programs: Ease financial pressure before embarking on additional property investments.
- 🛠 DIY Workshops: Enroll in local workshops or online courses to expand your DIY skills with minimal expenses.
Building a shed roof can be a rewarding endeavor that paves the way for future projects. By tapping into available resources, you can elevate your skills, manage finances effectively, and ultimately achieve your goals with confidence.

