Mastering Roof Truss Construction: Here's Your Essential Guide
Building a roof truss might seem daunting at first glance, but with a bit of guidance and the right tools, it becomes an achievable DIY project for many homeowners. Understanding the basics of construction, safety standards, and the various types of trusses ensures an effective and efficient build. Whether you're looking to save money on labor costs or add a personal touch to your home, here's how to construct a roof truss step-by-step.
Understanding Roof Truss Basics
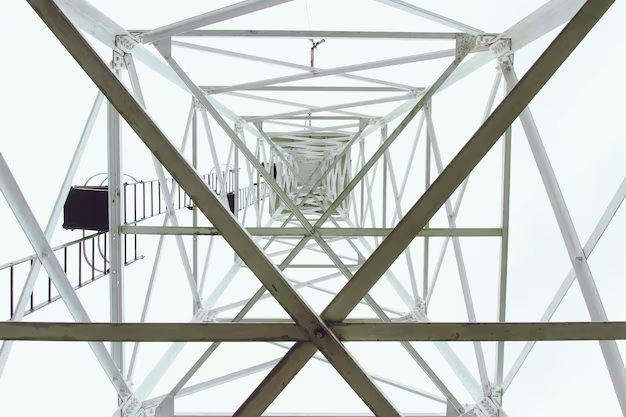
A roof truss is an engineered framework, usually consisting of rafters, posts, and struts, which supports your roof. Trusses are typically made from wood or metal and are designed to distribute the weight of the roof evenly to the building's walls.
Types of Roof Trusses:
- King Post Truss: Simple, economical, suitable for short spans
- Queen Post Truss: Suited for larger spans, offers a classic appearance
- Howe Truss: Efficient for heavy loads and long spans
Materials and Tools You'll Need
Before you start building, gather the following materials and tools:
- Lumber (Typically 2x4s, depending on your design)
- Metal plates for securing joints
- Nails and/or screws
- Circular saw or hand saw
- Tape measure
- Pencil for marking cuts
- Safety equipment: goggles and gloves
Step-by-Step Guide to Build a Roof Truss
Plan and Design: Choose a truss design that fits your needs. Accurate measurements are crucial. Draft plans or use a software tool to design your truss considering the span, pitch, and load.
Cut the Lumber: Use your plans to mark and cut the lumber to the required lengths. Ensure all pieces are cut precisely to fit together properly.
Layout the Truss Pieces: On a flat surface, lay out each piece according to your design. Align the rafters, joists, and any vertical struts.
Assemble the Truss: Secure each joint with metal plates and nails or screws. For added strength, consider reinforcing with additional plates at stress points.
Raise and Install: With assistance, lift the truss into position on your wall frame. Secure it with nails or screws. Repeat for the rest of the trusses, ensuring even spacing.
Finalize the Roof: Once all trusses are in place, you’ll proceed to cover with roofing material of your choice.
Safety and Regulations
It's crucial to follow local building codes and regulations when constructing a truss. These codes help ensure structural integrity and safety. If in doubt, consulting with or hiring a professional for insights or specific elements of the job can be invaluable.
Explore Additional Financial Resources
Embarking on a construction project, even a DIY one, requires an investment. Fortunately, various financial assistance options can ease the burden:
- 🛠️ Government Grants: Some regions offer grants for home improvement projects, including energy-efficient roofs.
- 💰 Low-Interest Loans: Banks and credit unions often provide favorable rates for construction-related projects.
- 🔧 Home Improvement Tax Credits: Certain upgrades could qualify for tax incentives.
- 🏠 FHA Title I Property Improvement Loans: A fantastic choice for homeowners looking to make significant improvements.
- 💡 Educational Workshops: Learn more about construction through workshops or local courses.
Building a roof truss is an investment in your home’s future, from the comfort it provides to the increase in property value. Armed with the right tools, knowledge, and financial support, you'll not only enhance your home but also your understanding of construction, paving the way for future projects.
A little planning and a dash of determination mean your DIY journey can be both rewarding and economically viable.

